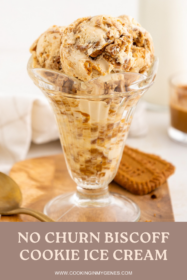
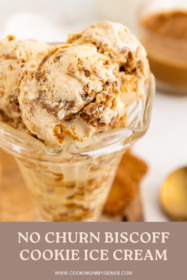
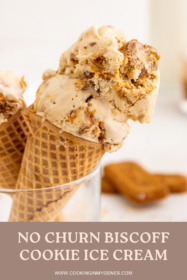
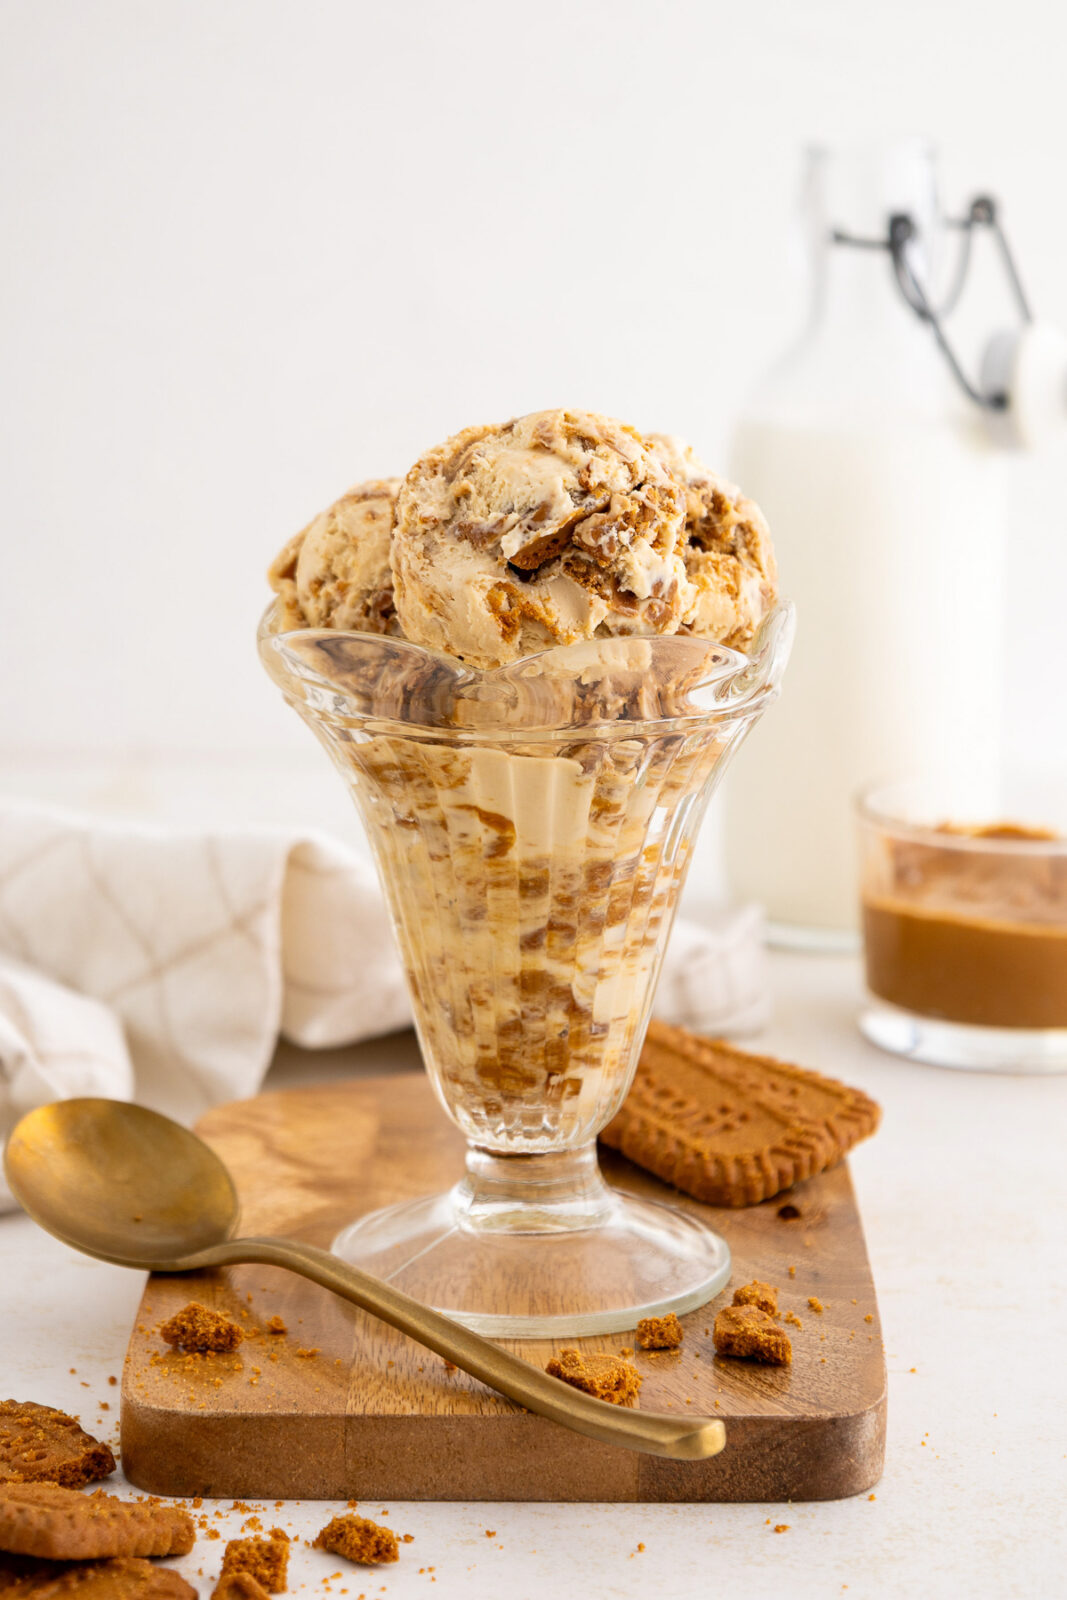
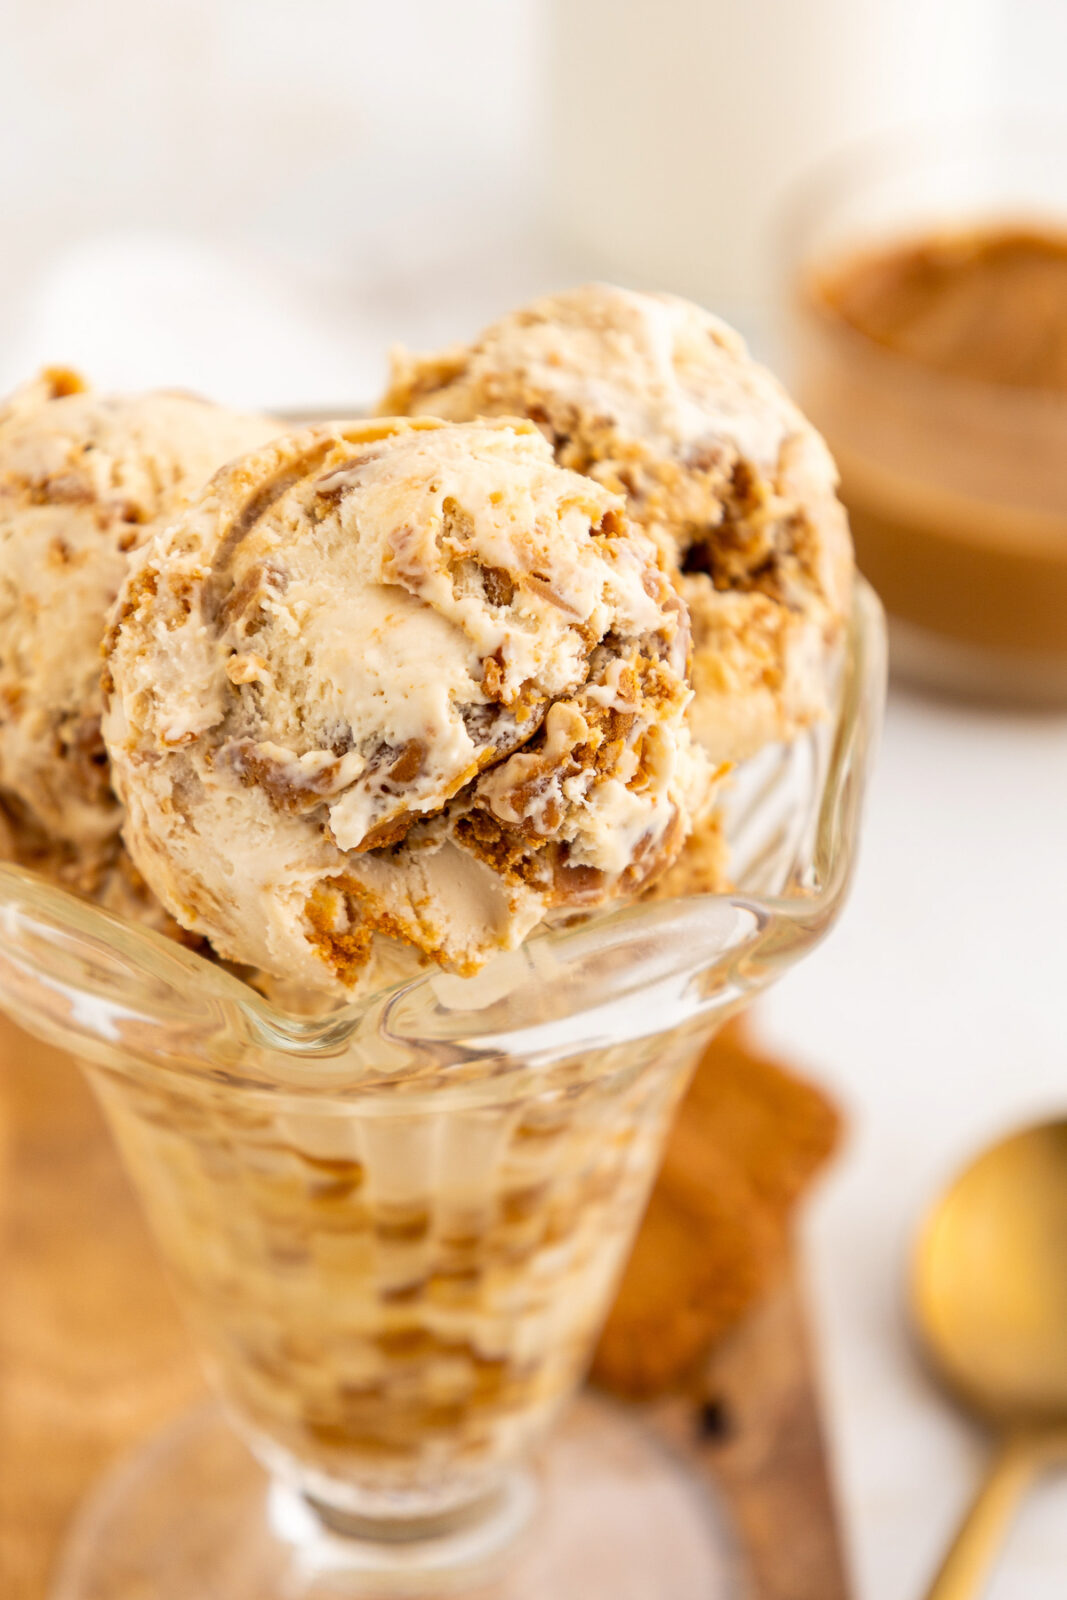
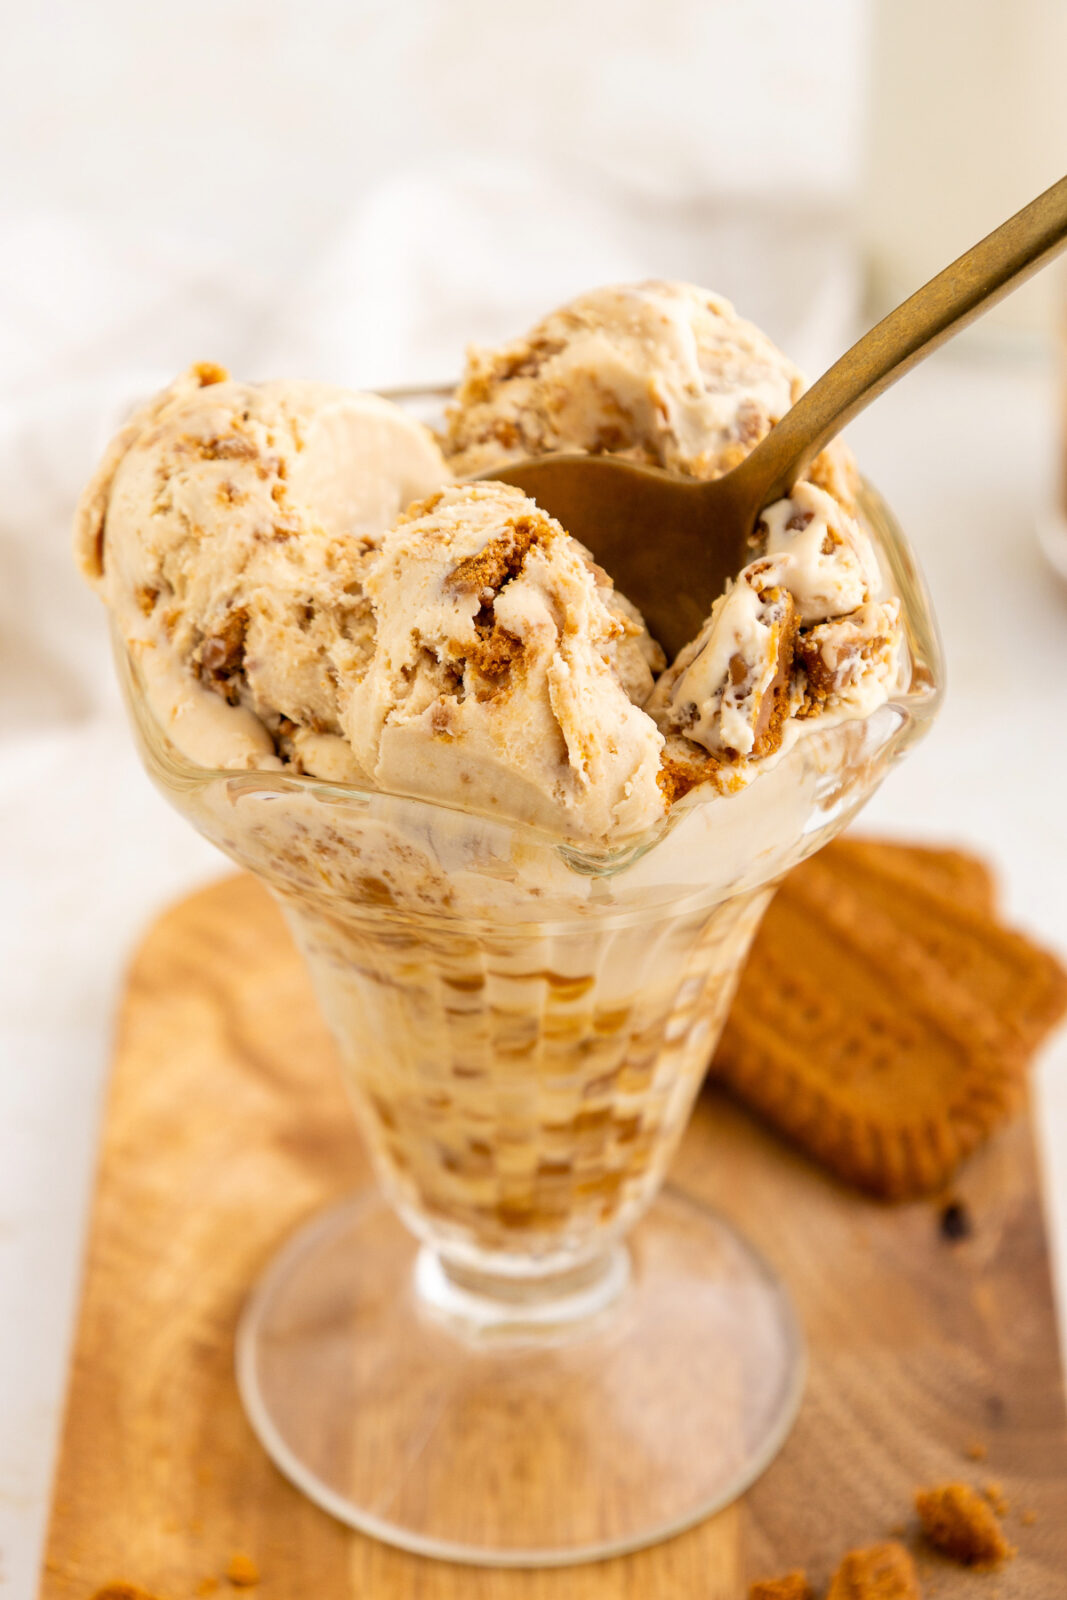
5-Ingredient Homemade No Churn Biscoff Ice Cream
Warm weather calls for no churn biscoff ice cream!
Made with just 5 simple ingredients, this no churn ice cream is for the cookie butter lovers in your life.
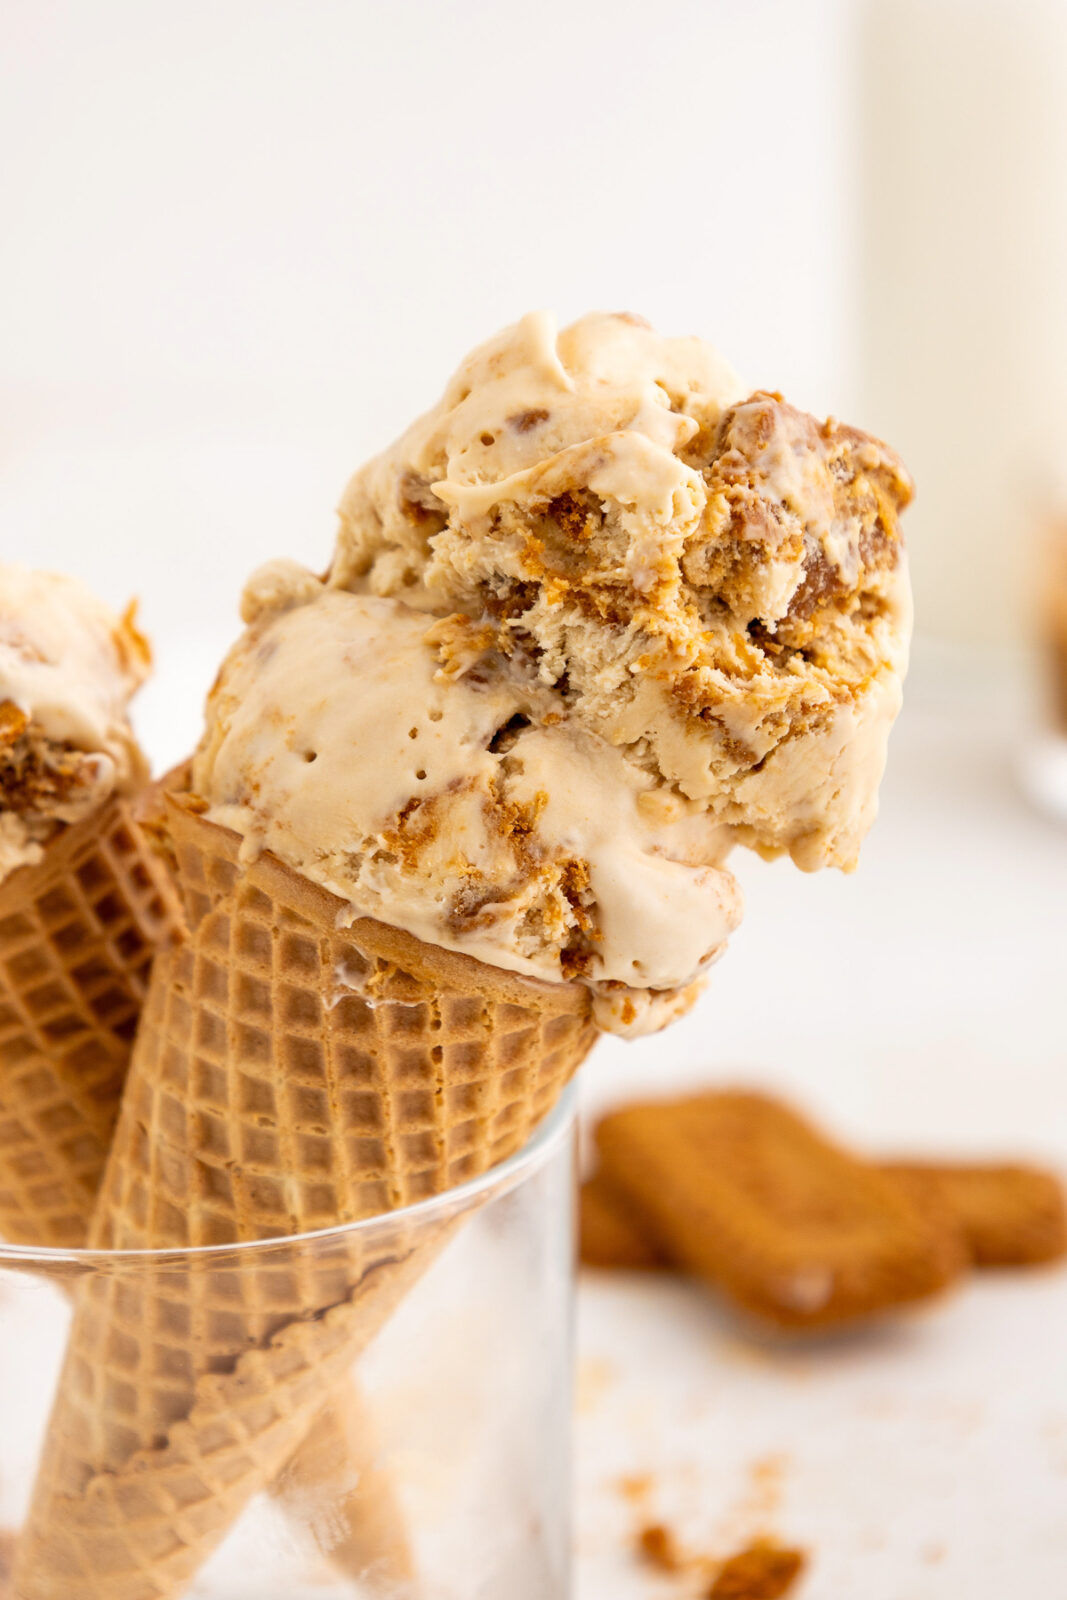
The vanilla base is swirled with cookie butter and crushed Biscoff cookie pieces – what could be better than that?
Now, you know I love a no churn ice cream! There is no ice cream maker required and you get delicious, homemade ice cream?! Sign me up. After making my no churn s’mores ice cream (you have to try it!) and raspberry crumble no churn ice cream, I knew I had to make a Biscoff version next. It might just be my new favorite ice cream flavor!
What is no churn biscoff ice cream?
No churn ice cream has a base of whipped cream and sweetened condensed milk, so this eggless ice cream recipe is a breeze to make! It only takes 10 minutes to prep, but you’ll need to let it firm up in the freezer for at least 8 hours. If you haven’t made homemade ice cream before, don’t worry. I’ve got all the steps below, and my recipe testing means your no churn ice cream turns out amazing every single time. Plus, we’re adding crunchy lotus Biscoff cookies and swirls of cookie butter to this creamy ice cream.
What flavor is Biscoff?
Biscoff is a brand of cookies and cookie butter. Biscoff flavor is caramelized, spiced and slightly sweet which you’ll find in Biscoff cookies and the spread, both of which can be found in local grocery stores. If you’ve heard of Biscoff before, it’s most likely from a viral online recipe!
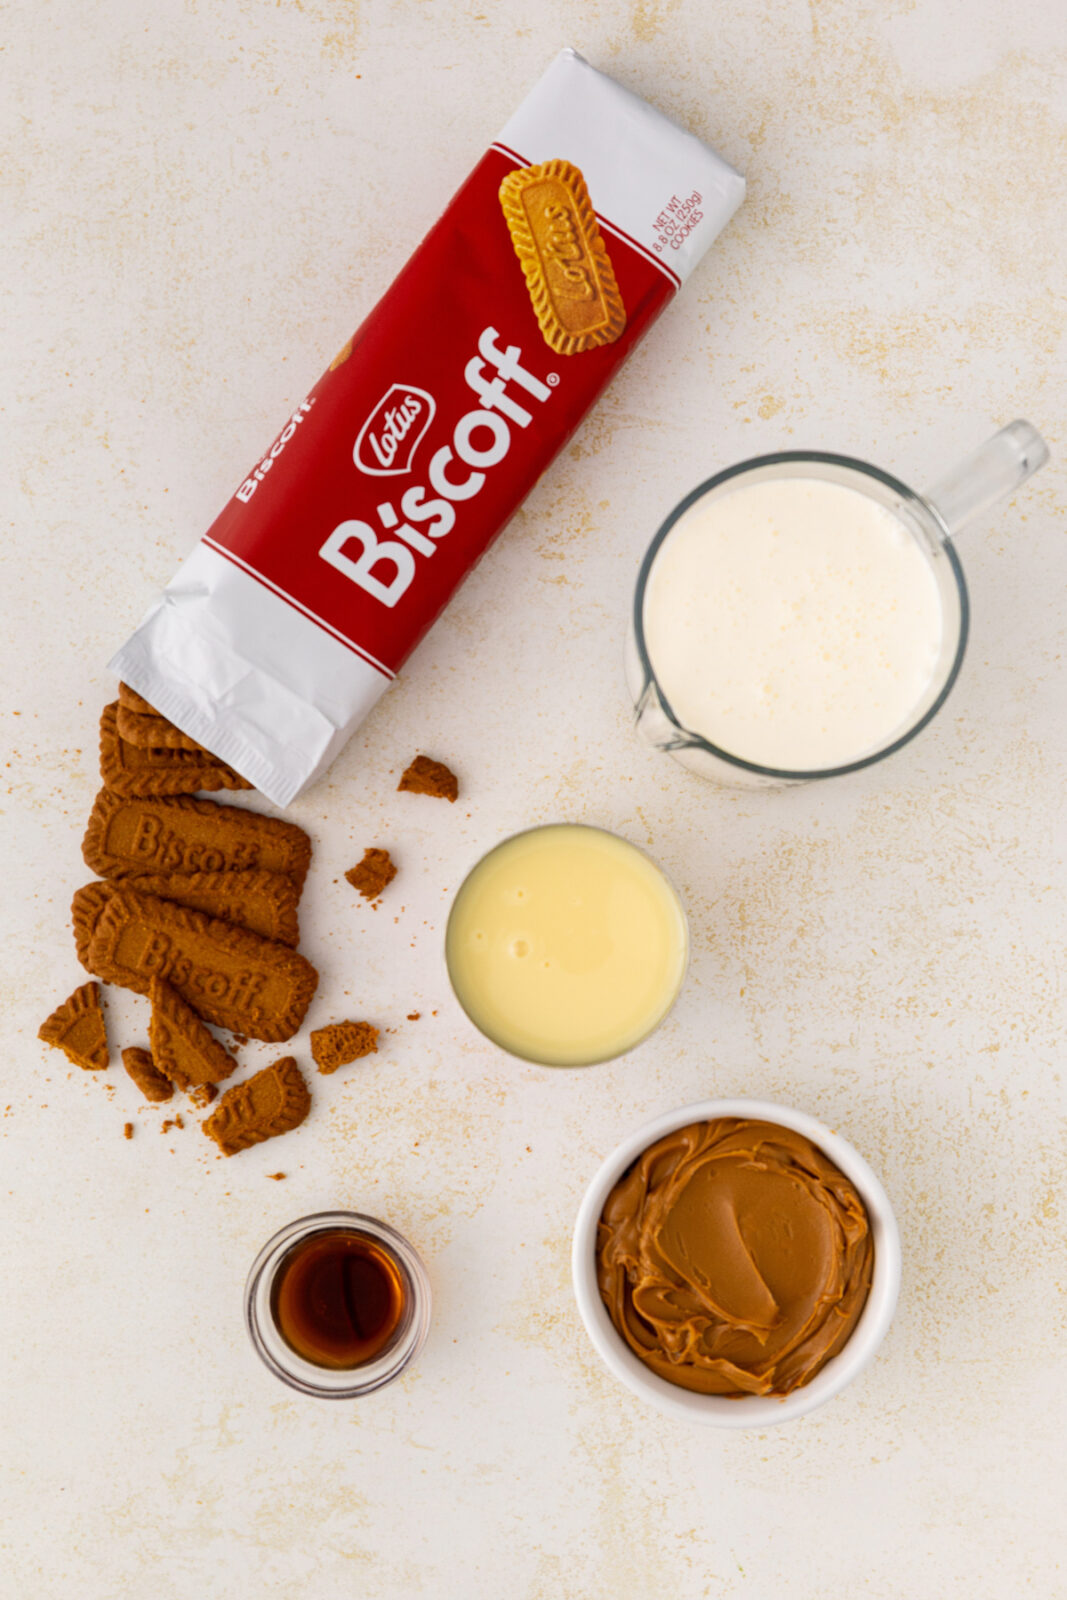
Ingredients needed to make this Biscoff ice cream
Biscoff cookies: the key to this recipe is the Lotus Biscoff cookies, you’ll need crushed biscoff cookies (from 12 whole cookies)
Sweetened Condensed Milk: Make sure you’re using sweetened condensed milk and not evaporated milk!
Heavy Whipping Cream: I recommend using cold heavy whipping cream; otherwise, it won’t whip up properly.
Biscoff Spread: Also known as cookie butter, you can find this creamy spread at the grocery store usually near the nut butters and chocolate spreads.
Vanilla extract: vanilla extract is a must for this creamy vanilla ice cream base.
How to make this homemade biscoff ice cream recipe
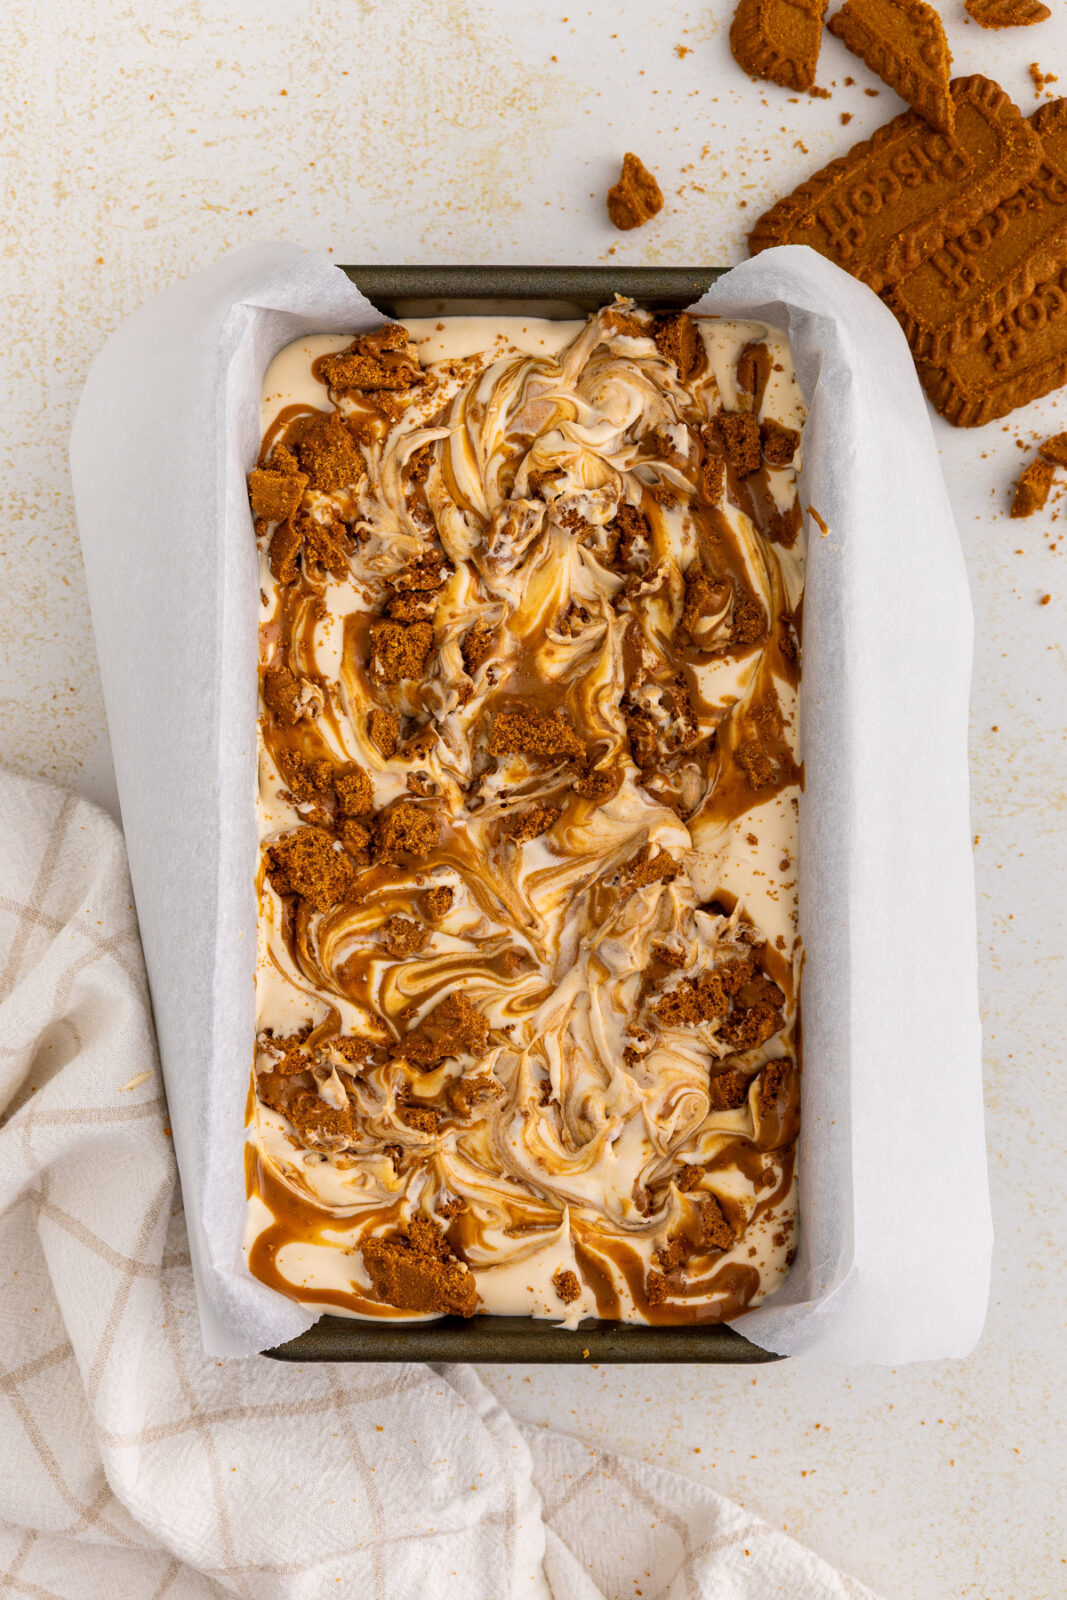
- Line a loaf pan with parchment paper.
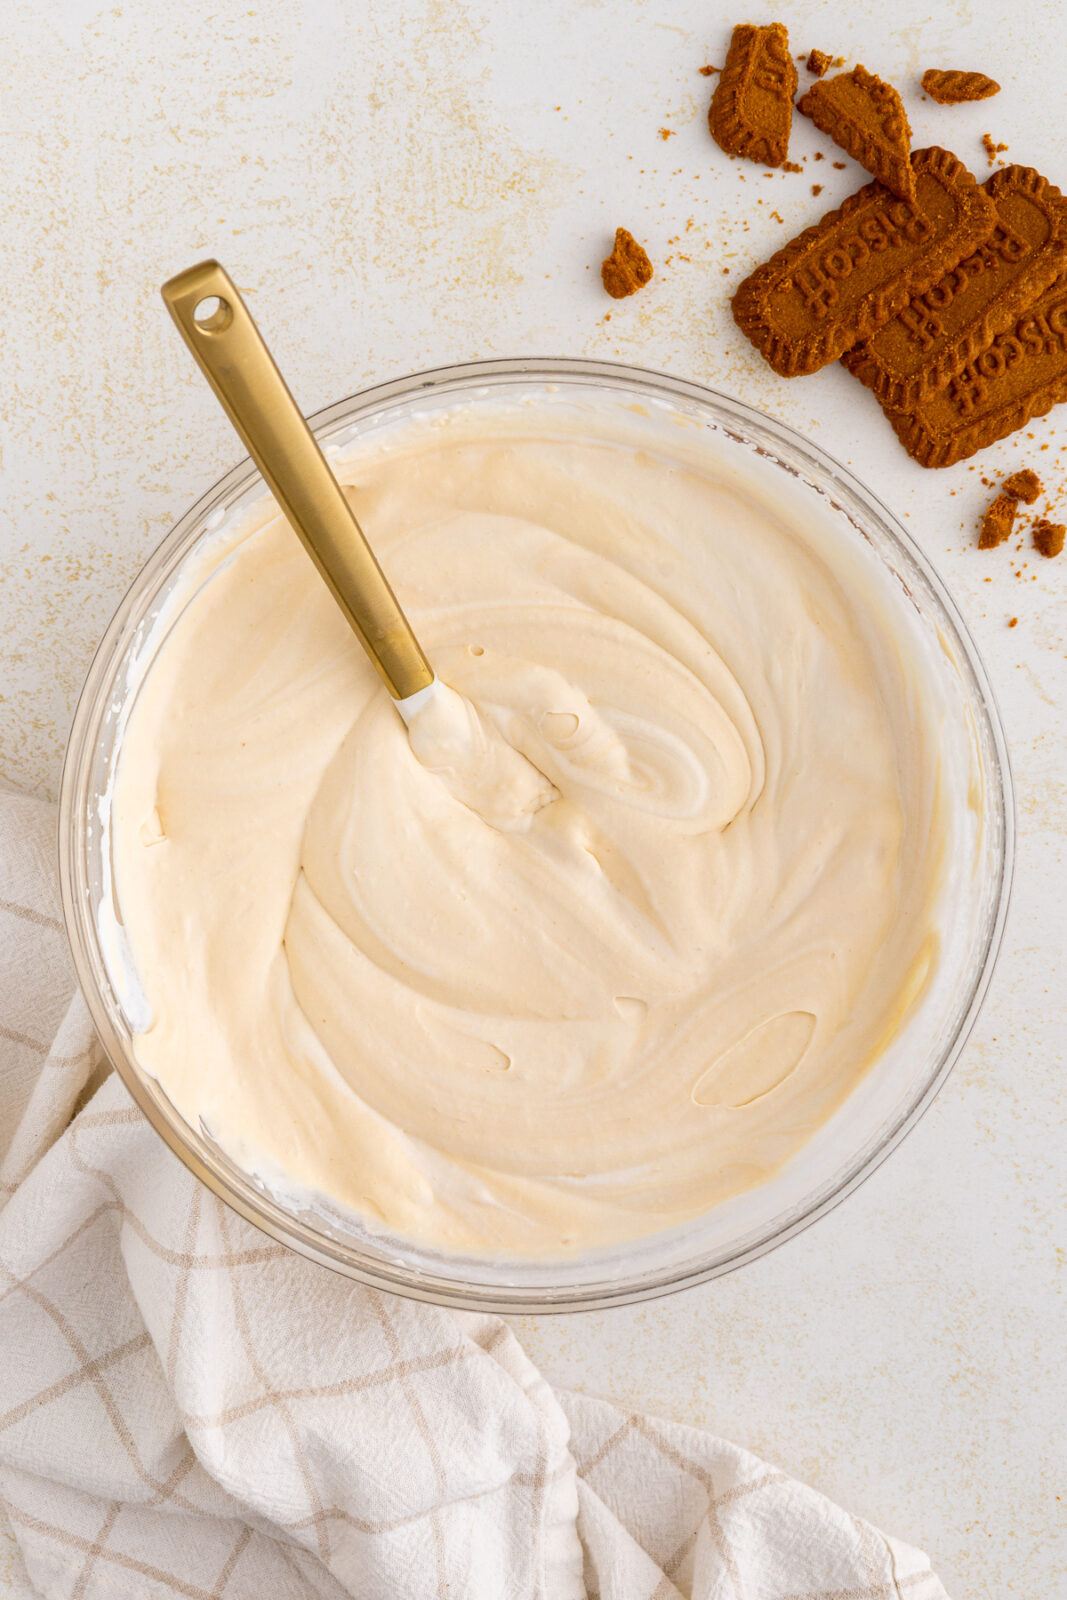
- In a medium mixing bowl, stir together the vanilla extract, sweetened condensed milk and ⅓ cup of Biscoff cookie butter until combined.
- In a large mixing bowl, use a hand mixer with whisk attachment to whip the heavy cream to medium stiff peaks. Alternatively, whip the cream with a whisk attachment in a stand mixer to medium stiff peaks.
- Melt ⅔ cup of the Biscoff cookie butter on low in the microwave in 10-20 second intervals until melted / more of a liquid texture and then set aside.
- Pour the sweetened condensed milk mixture into the whipped cream mixture and gently fold everything together to combine (it should be fairly smooth). Be careful not to overmix.
- Pour half of the whipped cream mixture into the prepared loaf pan and drizzle with 1/3 cup of melted Biscoff cookie butter and then crumble over 6 Biscoff cookies. Use a knife to swirl it into the ice cream mixture. Pour in the remaining whipped cream mixture and top with the rest of the melted Biscoff cookie butter and 6 more crumbled Biscoff cookies. Use a knife to swirl it into the mixture again.
- Cover tightly with plastic wrap and freezer for at least 8 hours or overnight before serving. If the ice cream is too difficult to scoop, let it warm up for about 5 minutes on the counter.
- Store in the freezer, covered well with plastic wrap, for up to one month.
Making Ice Cream with Sweetened Condensed Milk
The reason we’re able to make this Biscoff ice cream without an ice cream maker is all thanks to the sweetened condensed milk! Sweetened condensed milk is high in sugar, which lowers the freezing point of ice cream – no freezer burn! It also doesn’t require any simmering on the stove like regular ice cream or churning. This is why I don’t recommend swapping it out for something lower in sugar.
Tips For Best Results
- Don’t have a loaf pan on hand? Swap it out for a 9-inch round cake pan!
- I recommend using a hand mixer or a stand mixer fitted with the whisk attachment to whip up the heavy whipping cream. I don’t recommend using a blender as it won’t produce those medium-stiff peaks we need for the ice cream base!
- While I usually love giving ingredient substitutes and swaps, if you swap out the sweetened condensed milk or heavy whipped cream for something lower fat, then you won’t get the right ice cream texture!
- How about using this Biscoff ice cream to make ice cream sandwiches during the summer months!
Common questions
Lotus Biscoff Cookies are widely available. You may need to check a few stores, however, I am generally able to find them at local grocery stores. If not, you can always check specialty stores that sell other European products.
If you can’t find Biscoff spread at your local grocery store, you can try another cookie butter. For example, Trader Joe’s has their own cookie butter. If you cannot find any cookie butter, substitute with more crushed cookies!
I do not recommend substituting the heavy whipping cream as any other dairy product (coffee cream, skim milk, whole milk etc) which will not whip properly.
How to store
Store, tightly covered or in a freezer-safe container in the freezer for up to a month. Any longer than a month and it might get freezer burn. You might need to let it sit at room temperature for 5 minutes before you can scoop it!
More homemade ice cream recipes to try from the blog
- Homemade No Churn Raspberry Crumble Ice Cream Recipe
- No Churn S’mores Ice Cream (easy ice cream dessert!)
- No Churn Peppermint Oreo Ice Cream (for Christmas!)

5-Ingredient Homemade No Churn Biscoff Ice Cream
Ingredients
- 2 cups heavy whipping cream
- 14 oz (1 3/4 cups) sweetened condensed milk
- 1 cup Biscoff cookie butter, divided
- 1 tbsp vanilla extract
- 12 Biscoff cookies, crushed into small pieces
Instructions
- Line a loaf pan with parchment paper.
- In a medium mixing bowl, stir together the vanilla extract, sweetened condensed milk and ⅓ cup of Biscoff cookie butter until combined.
- In a large mixing bowl, use a hand mixer with whisk attachment to whip the heavy cream to medium stiff peaks. Alternatively, whip the cream with a whisk attachment in a stand mixer to medium stiff peaks.
- Melt ⅔ cup of the Biscoff cookie butter on low in the microwave in 10-20 second intervals until melted / more of a liquid texture and then set aside.
- Pour the sweetened condensed milk mixture into the whipped cream mixture and gently fold everything together to combine (it should be fairly smooth). Be careful not to overmix.
- Pour half of the whipped cream mixture into the prepared loaf pan and drizzle with 1/3 cup of melted Biscoff cookie butter and then crumble over 6 Biscoff cookies. Use a knife to swirl it into the ice cream mixture. Pour in the remaining whipped cream mixture and top with the rest of the melted Biscoff cookie butter and 6 more crumbled Biscoff cookies. Use a knife to swirl it into the mixture again.
- Cover tightly with plastic wrap and freezer for at least 8 hours or overnight before serving. If the ice cream is too difficult to scoop, let it warm up for about 5 minutes on the counter.
- Store in the freezer, covered well with plastic wrap, for up to one month.
Notes
- If you don’t have a loaf pan, a 9 inch round pan covered with plastic wrap should work or you could use a freezer-safe container with a lid too.
- Do not use a blender to whip the cream.
- Make sure you use cold / chilled whipped cream as warm cream won’t whip properly.
- Make sure you get the exact ingredients needed for the base of this ice cream – your ice cream won’t turn out right if you use lower fat or lower sugar alternatives.
")

")
")

