Easy 3 Ingredient Peanut Butter Eggs for Easter

These 3 ingredient peanut butter eggs are the easiest Easter treat!

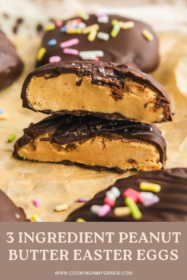
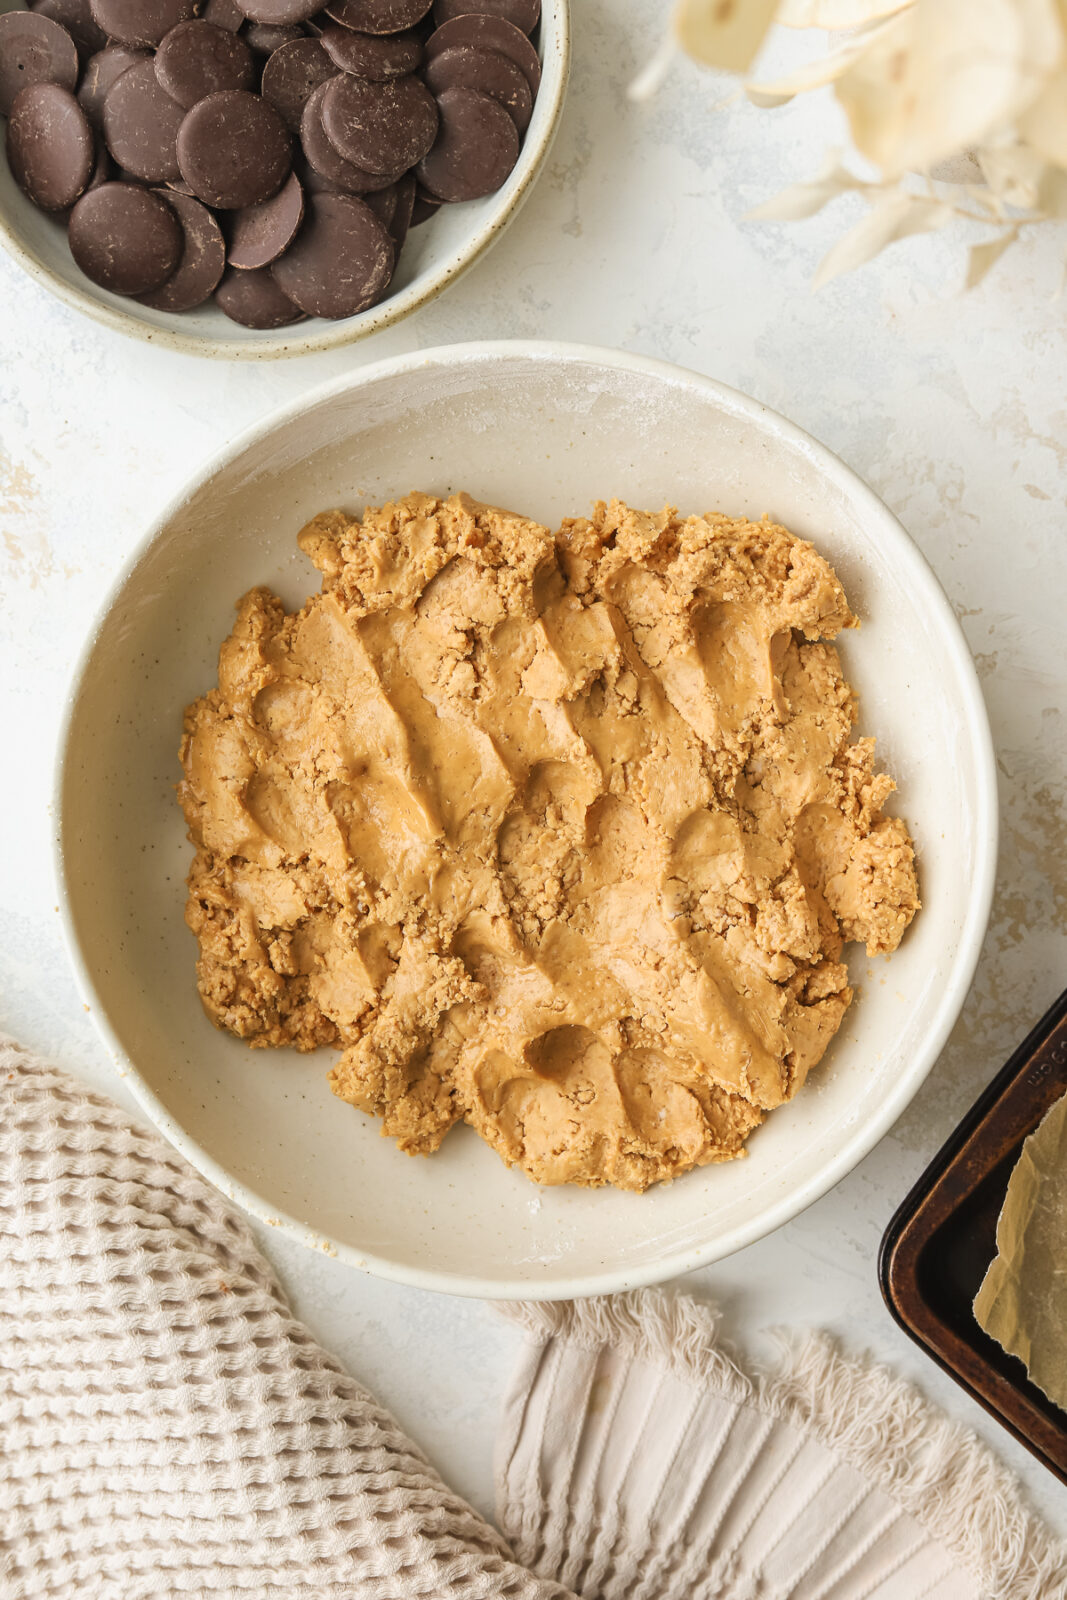
You only need 3 simple ingredients: creamy peanut butter, powdered sugar and melted chocolate chips.
These homemade chocolate peanut butter eggs are just like your favourite Reese’s eggs Easter treat from the store BUT better!
I love this Simple Coconut Carrot Cake with Cream Cheese Frosting for Easter but these eggs are rich, sweet and everything you love about a peanut butter treat covered with chocolate.

Why you’ll love these homemade peanut butter eggs
- Easy: You only need three ingredients to make these easter eggs (peanut butter, chocolate and powdered sugar!)
- Flavour: The combination of powdered sugar and peanut butter mimics the flavour of reese’s peanut butter cups.
- Texture: The peanut butter mixture for the filling is thick and creamy. And, dark chocolate chips make the best chocolate shell for these peanut butter eggs.
Ingredients needed
Peanut butter: make sure to use a creamy peanut butter
Powdered sugar: you’ll need powdered sugar (aka icing sugar) which helps to shape and sweeten these peanut butter eggs
Chocolate chips: I love using dark chocolate chips for a nice contrast to the peanut butter. You can use semi-sweet or milk chocolate chips if you prefer a sweeter chocolate coating.
How to make 3 ingredient peanut butter eggs
Make the peanut butter filling:
To a medium mixing bowl add the peanut butter and powdered sugar. Use a wooden spoon to mix and combine the two ingredients. The mixture will get crumbly at first. Then, use your hands to knead the mixture a few times until you get a uniform / more smooth dough. It will be quite thick.
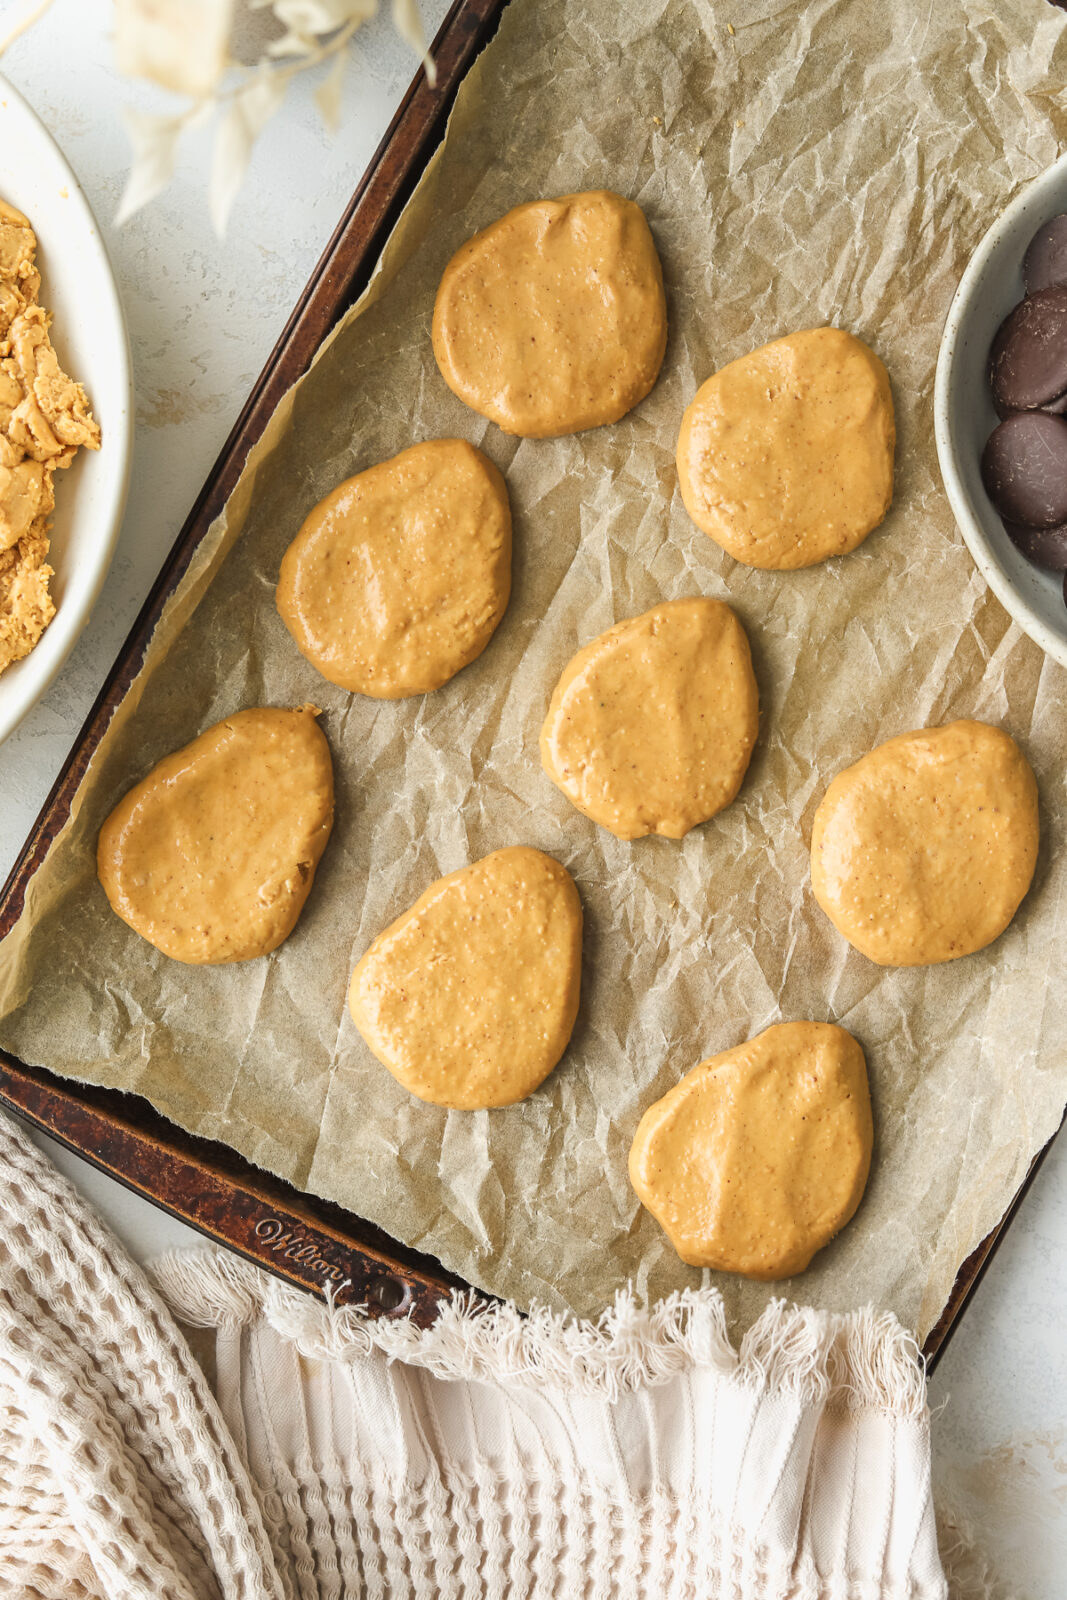
Scoop and form the eggs:
Scoop 2 heaping tablespoonfuls at a time and roll each into a ball. Use your fingers to slightly flatten into an egg-shape, about 1/2 inch thick. Place each egg on the parchment paper lined baking sheet. Place in the fridge for at least 1 hour or until the peanut butter eggs are firm to the touch.
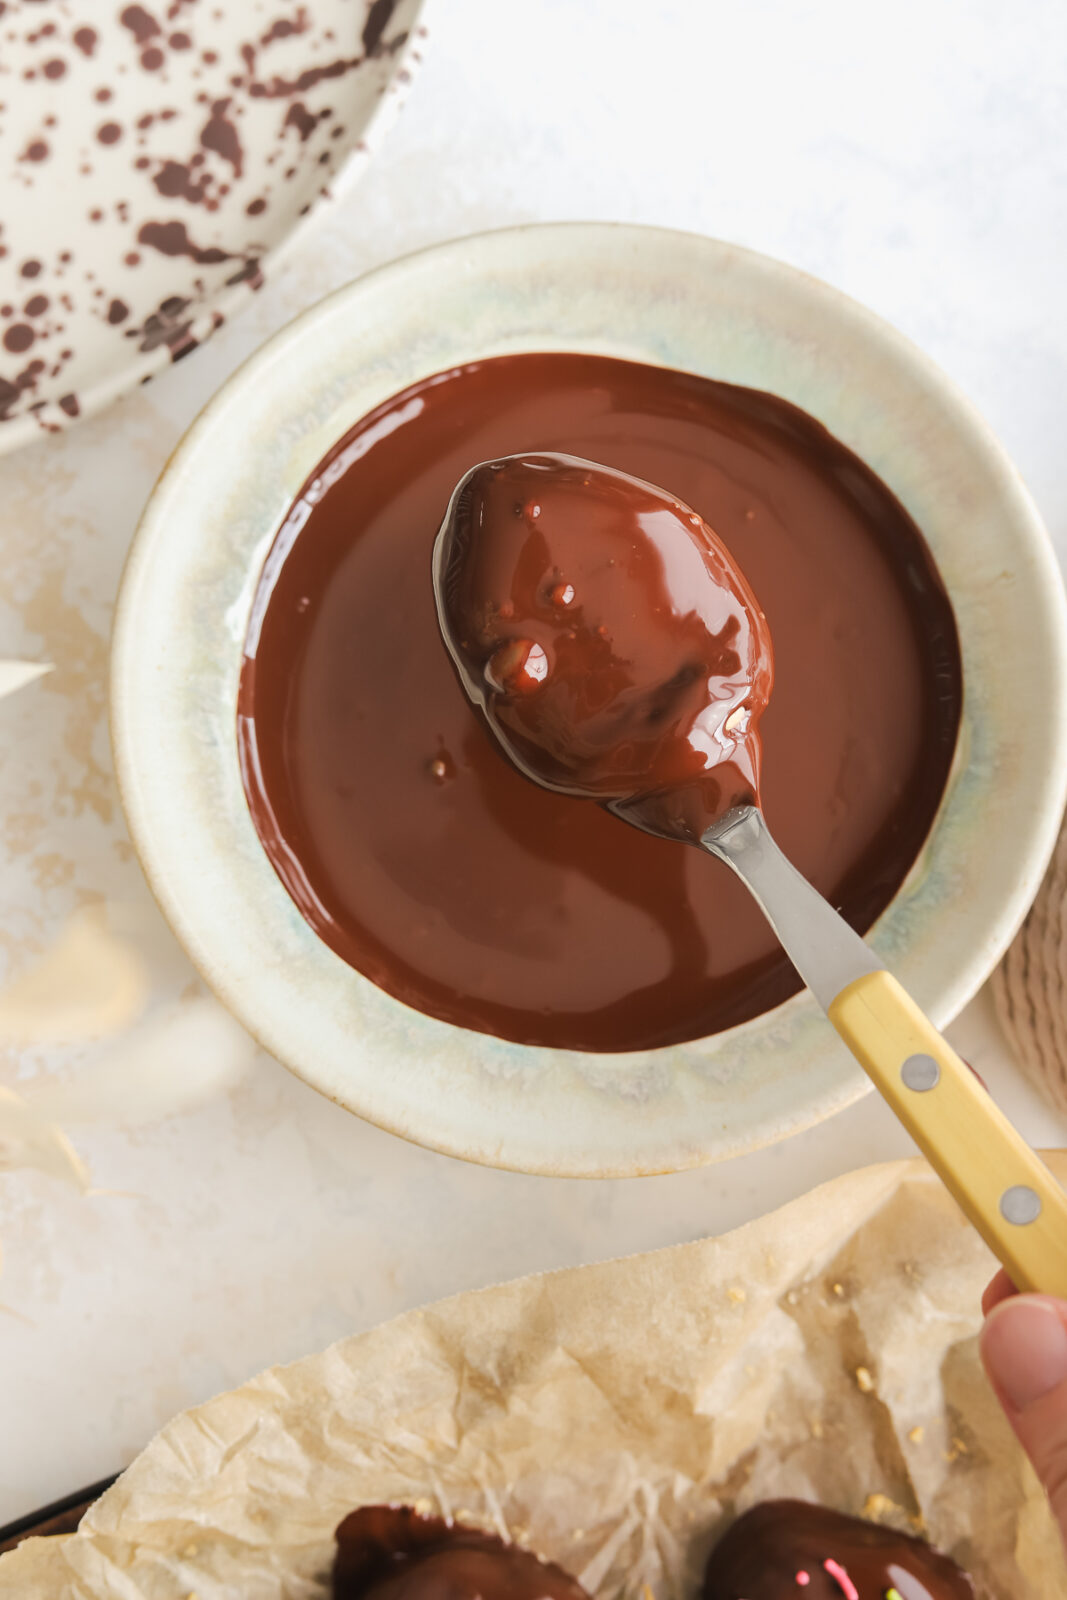
Melt the chocolate:
Once the peanut butter eggs are firm, melt the chocolate in a microwave safe bowl in 30 second intervals, stirring after each 30 second burst until just fully melted.
Dip the peanut butter eggs:
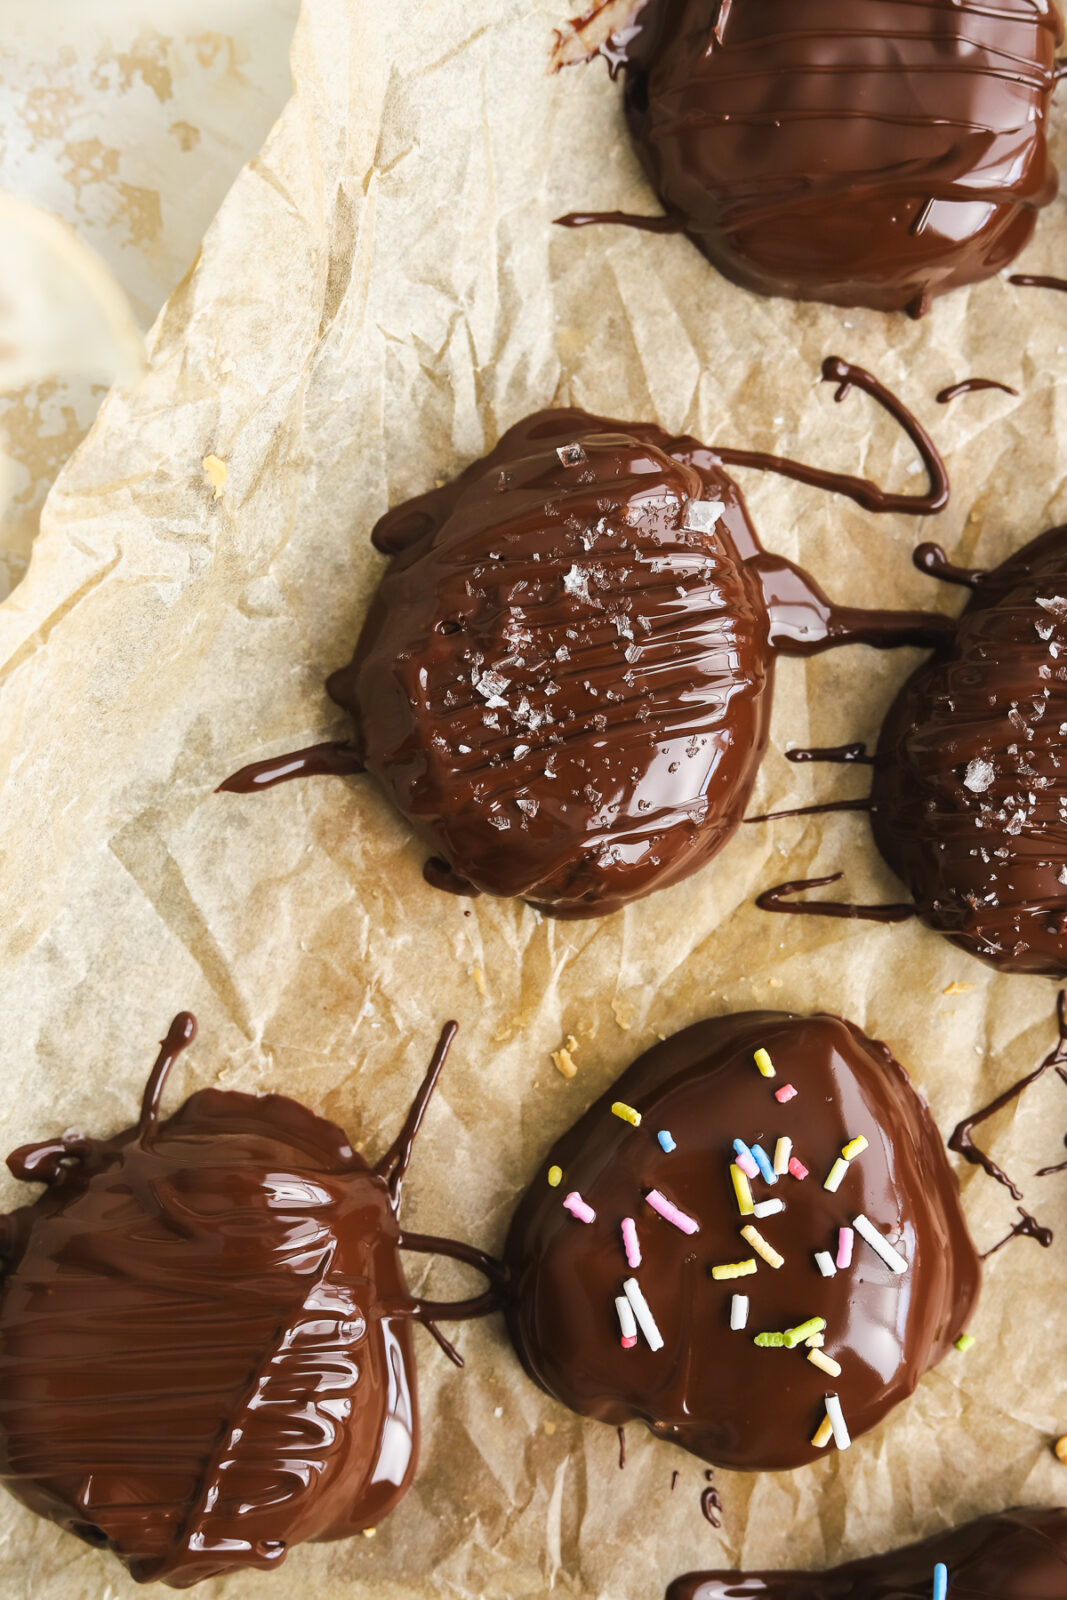
Let the melted chocolate cool for a few minutes before dipping in the eggs. Use a fork to rest each peanut butter egg on and dip / lower into the melted chocolate. Lift up and let any excess chocolate drip off. Place on the parchment paper lined baking sheet. If the chocolate gets too hard before all of the eggs are dipped, reheat the chocolate for 15 second in the microwave. Optional: Now is the time to add sprinkles or a sprinkle of flaky salt to each chocolate-covered peanut butter egg.
Decorate and chill until set:
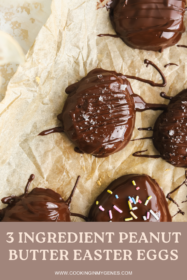
Once all of the peanut butter eggs are dipped, chill in the fridge for 15 minutes. After 15 minutes in the fridge, decorate with extra melted chocolate or any remaining chocolate if desired by drizzling in any pattern you see fit. Let sit in the fridge until the chocolate is set again.
Tips & Tricks
- Making the peanut butter filling: The filling texture will definitely depend on the peanut butter you use. If you find your filling is too sticky, it’s most likely your peanut butter was too thin so put the mixing bowl in the fridge for 15 minutes and then try again to finish mixing then scoop into egg shapes. If you find the mixture is too crumbly, use your hands instead to finish forming the dough by kneading it with your hands to fully combine.
- Coating the eggs: The colder the shaped eggs, the easier time you’ll have coating them.
- Melting the chocolate: Let the melted chocolate cool for a few minutes before dipping in the eggs otherwise the hot melted chocolate can melt the eggs.
- Peanut allergy: If you have a peanut allergy you could also try cashew, almond or sunflower seed butter!

Variations on these 3 ingredient peanut butter eggs
Melted chocolate: Use 1/2 cup extra chocolate chips or white chocolate chips, melted, and drizzle over the eggs for an extra design feature.
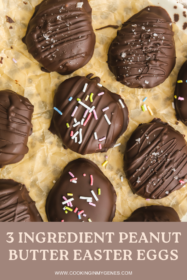
Sprinkles: Use pastel-coloured sprinkles as a decoration on the peanut butter eggs right after you have dipped them in chocolate.
Crunchy peanut butter: Instead of using smooth peanut butter, use crunchy for more of a bite!
Flaky salt: flaky sea salt adds a nice touch to the top of these 3 ingredients peanut butter eggs
Try a white chocolate version: Place chocolate in a microwave-safe bowl. Heat at 50% power for 30 seconds, stir, and repeat until smooth.

Common questions
If the eggs are softening too much and losing their shape as you dip them, put the baking sheet back in the fridge for 5–10 minutes and then try again.
I have not tested these with a white chocolate coating but I think they would be delicious! Just be very aware to microwave the white chocoalte at 50% power as white chocolate is more likely to seize up if done at the high power setting.

Make ahead and storage
You can make the peanut butter eggs up to one day ahead and then coat in chocolate the next day. Once the peanut butter eggs are set, store in an airtight container in the fridge for up to 2 days. Or, in an airtight container in the freezer for up to 2 months. If enjoying from frozen, let sit at room temperature for a few minutes to soften before eating.
More Easter desserts to make from the blog
- Simple Coconut Carrot Cake with Cream Cheese Frosting
- Easy 3-Ingredient Mini Egg Fudge Recipe for Easter
- Lemon Blueberry Blondies

Easy 3 Ingredient Peanut Butter Eggs for Easter
Ingredients
- 3/4 cup creamy peanut butter (not natural style)
- 1 1/3 cups confectioner's sugar (icing sugar)
- 8 ounces (225 grams) good quality dark chocolate bar or chocolate discs, coarsely chopped (or semi-sweet or milk chocolate)
Optional toppings
- colourful sprinkles
- flaky sea salt
- extra chocolate, melted for decorating
Instructions
- Line a baking sheet with parchment paper.
- Make the peanut butter filling: To a medium mixing bowl add the peanut butter and confectioner's sugar. Use a wooden spoon to mix and combine the two ingredients. The mixture will get crumbly at first. Then, use your hands to knead the mixture a few times until you get a uniform / more smooth dough. It will be quite thick and it's ok if it's a bit crumbly.
- Scoop and form the eggs: Scoop 2 heaping tablespoonfuls at a time and roll each into a ball. Use your fingers to slightly flatten into an egg-shape, about 1/2 inch thick. Place each egg on the parchment paper lined baking sheet.
- Chill the eggs: Chill in the fridge for 1 hour and up to 1 day or until the peanut butter eggs are firm. Leave the eggs in the fridge while you melt the chocolate.
- Melt the chocolate: After 1 hour (or more) in the fridge, leave the eggs in the fridge while you melt the chocolate in a microwave safe bowl in 30 second increments, stirring after each 30 second burst until just fully melted.
- Dip the peanut butter eggs: Let the melted chocolate cool for a few minutes before dipping in the eggs. Use a fork to rest each peanut butter egg on and dip / lower into the melted chocolate. Lift up and let any excess chocolate drip off. Place on the parchment paper lined baking sheet. If the chocolate gets too hard before all of the eggs are dipped, reheat the chocolate for 15 second in the microwave.Optional: Now is the time to add sprinkles or a sprinkle of flaky salt to each chocolate-covered peanut butter egg.
- Decorate and chill until set: Once all of the peanut butter eggs are dipped, chill in the fridge for 15 minutes. After 15 minutes in the fridge, decorate with extra melted chocolate if desired by drizzling in any pattern you see fit. Let sit in the fridge until the chocolate is set again.
- Once the peanut butter eggs are set, store in an airtight container in the fridge for up to 2 days. Or, in an airtight container in the freezer for up to 2 months. If enjoying from frozen, let sit at room temperature for a few minutes to soften before eating.
Notes
- Make sure to use creamy peanut butter like Kraft, Jif or Skippy – do not use a natural peanut butter as these will not set properly.
- If the eggs are softening too much and losing their shape as you dip them, put the baking sheet back in the fridge for 5–10 minutes and then try again.

")
")


