Welcome strawberry season with this easy strawberry fruit bar recipe with oatmeal crumble!
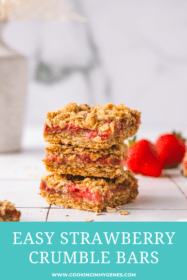
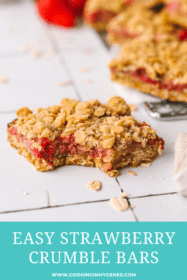
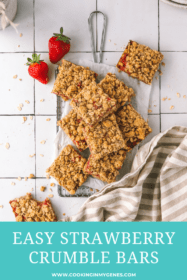
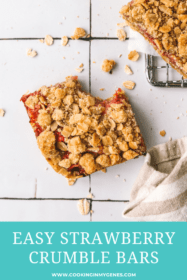
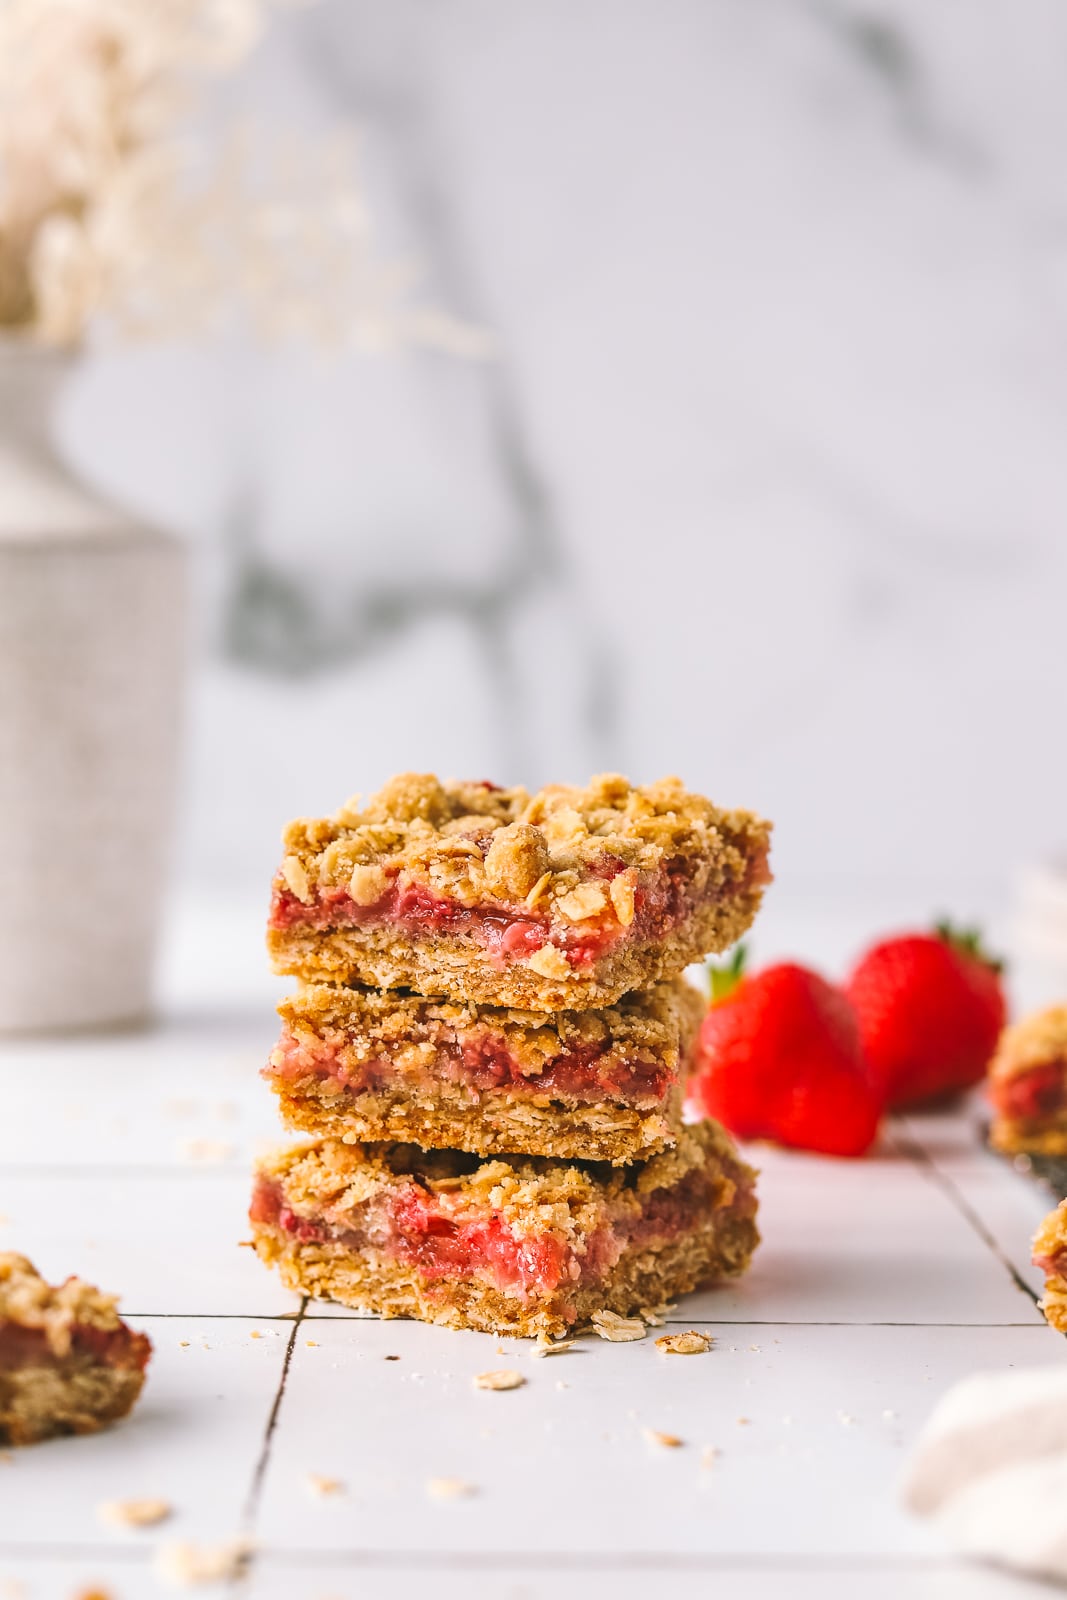
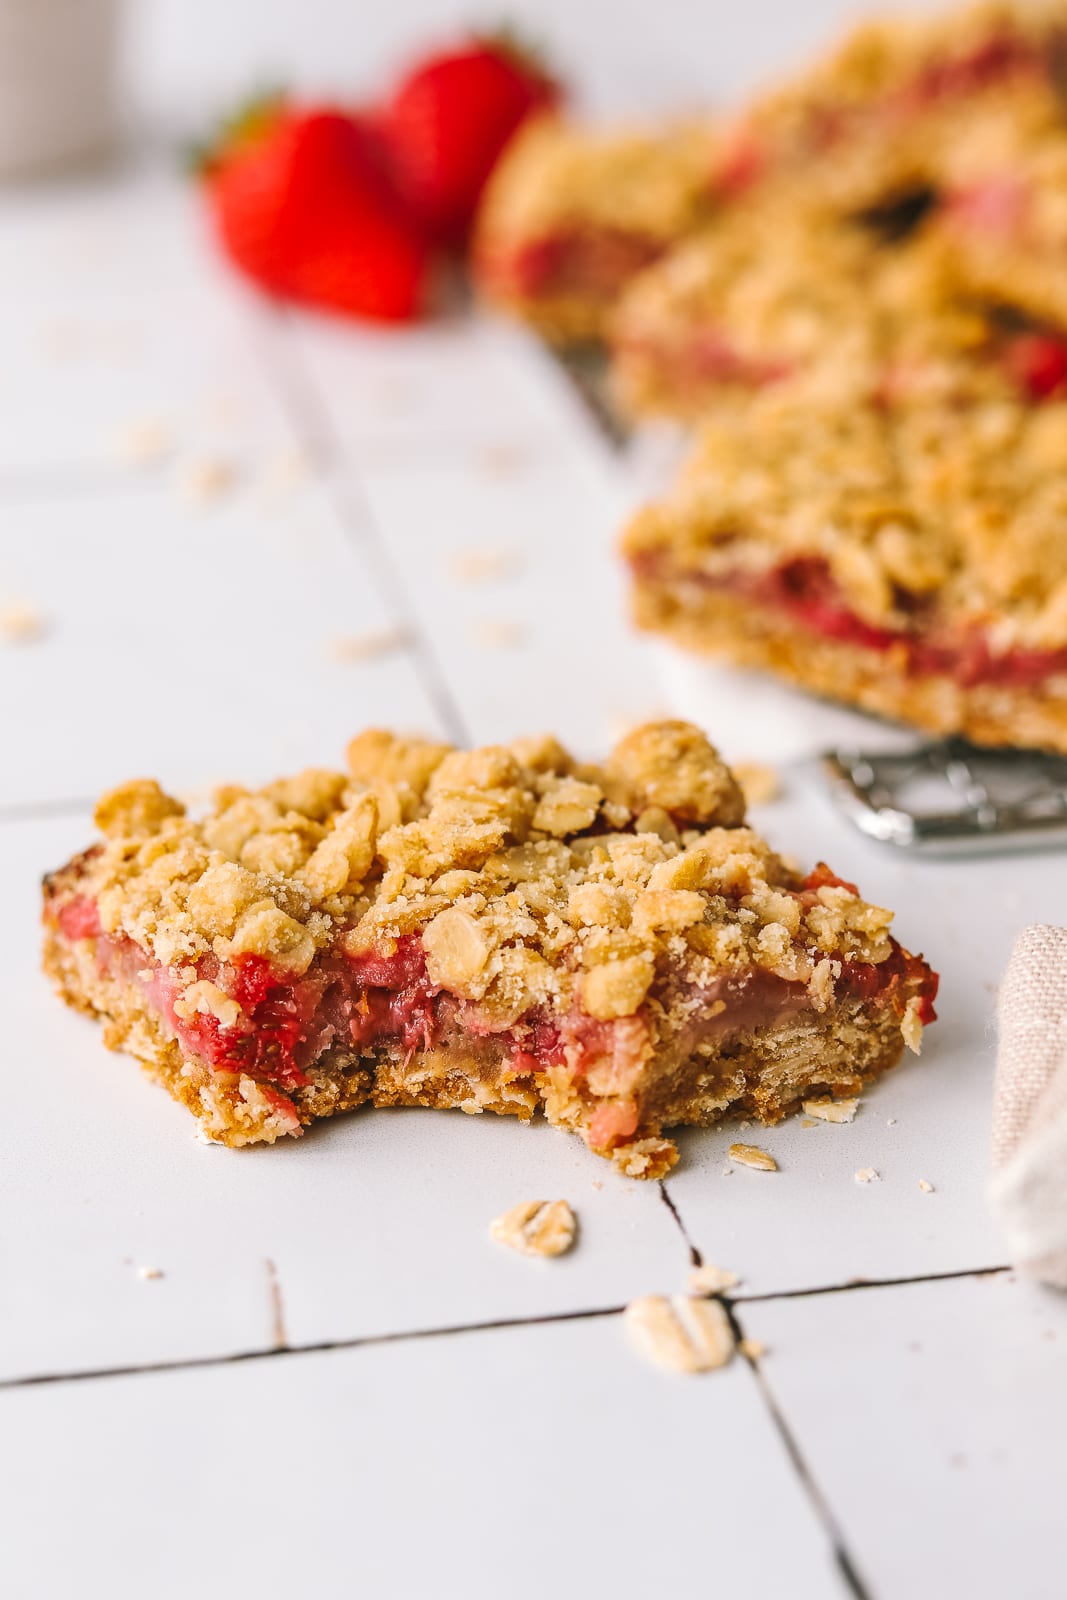
These strawberry crumble bars have a fresh strawberry filling and an oatmeal crumble crust.
Plus, you only need 10 simple ingredients, one bowl and 10 minutes to prep to make these delicious strawberry bars!
These simple, fresh strawberry oatmeal bars are perfect to make once the weather gets warm. I love serving these with a big scoop of vanilla ice cream all summer long.
The strawberry layer in these strawberry oat crumble bars is just like a strawberry jam once the bars are baked. This is the perfect recipe to make when it’s strawberry season and you have ripe, juicy strawberries on hand!
Why you’ll love these easy strawberry fruit bars
You only need 10 simple ingredients to make these easy strawberry fruit bars with oatmeal crumb.
The crumb mixture is used for both the bottom crust layer AND the topping which makes these recipe so easy!
You don’t need any fancy equipment like a food processor or mixer.
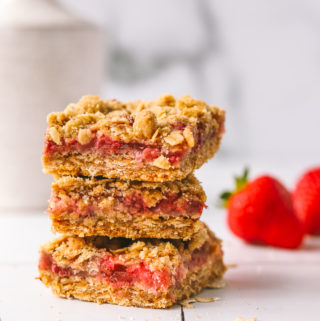
These are perfect sweet treats to serve at picnics, summer parties or birthday parties, the whole family will love them!
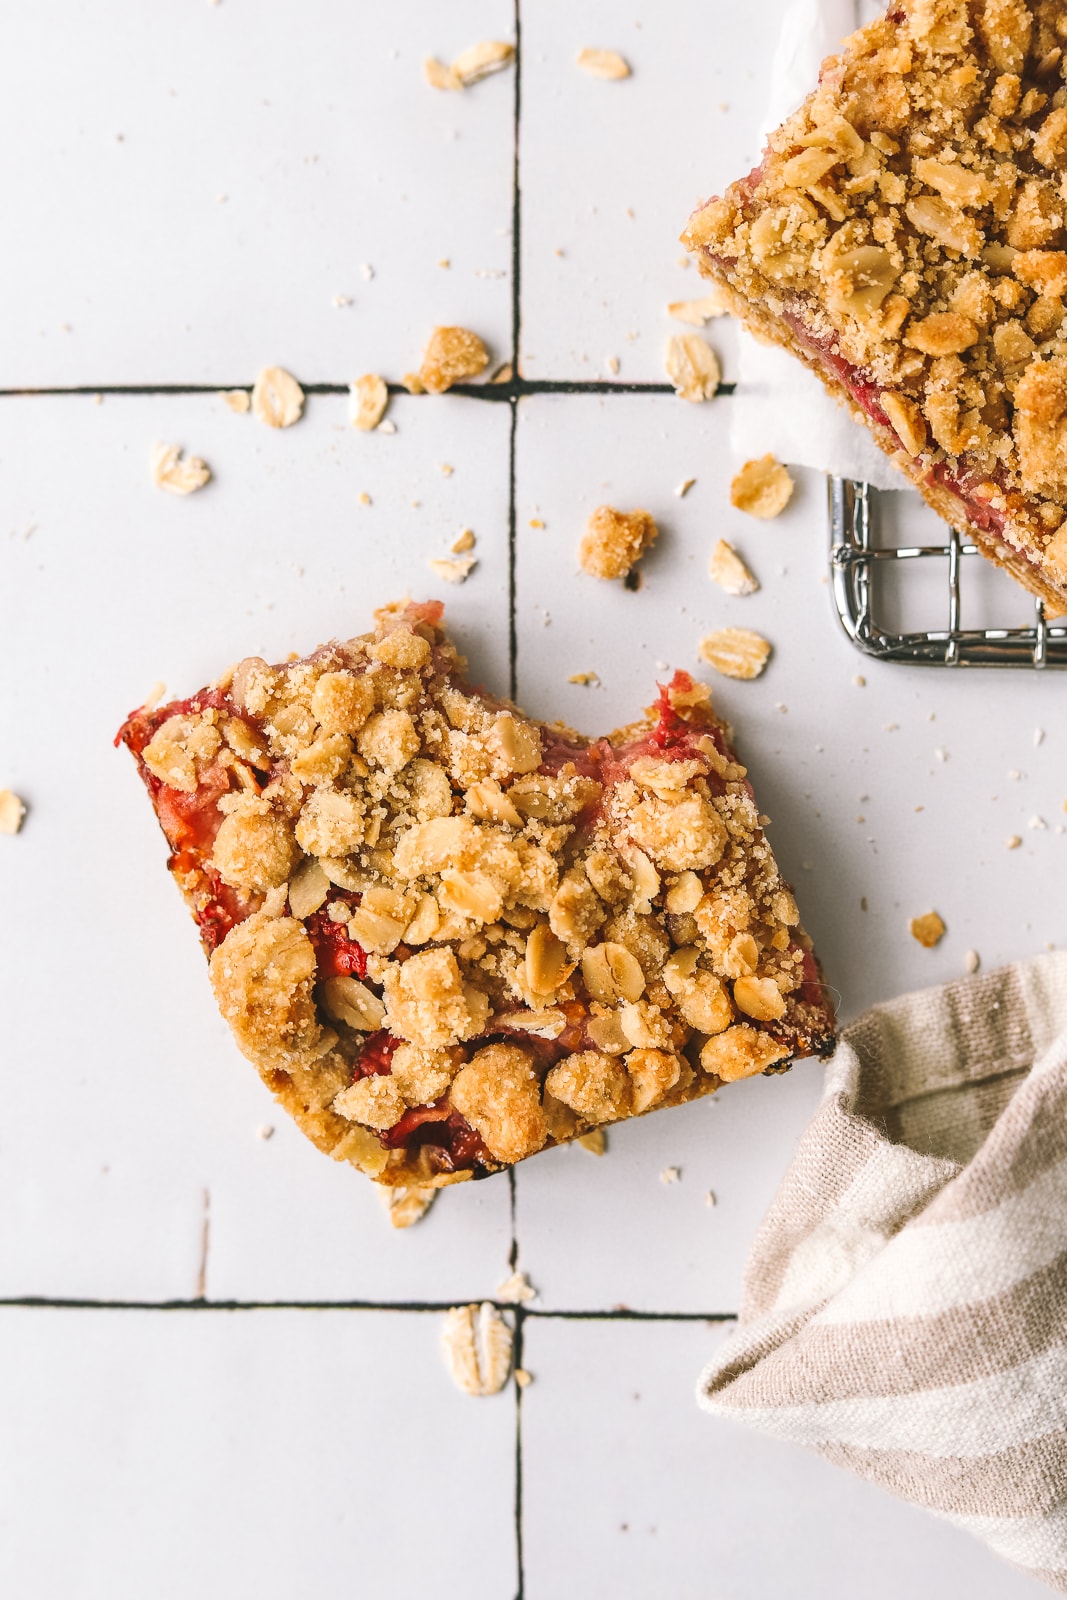
Each strawberry oatmeal bar has a layer of fresh juicy strawberries sandwiched between an oatmeal crumble crust.
Ingredients needed to make these easy strawberry bars
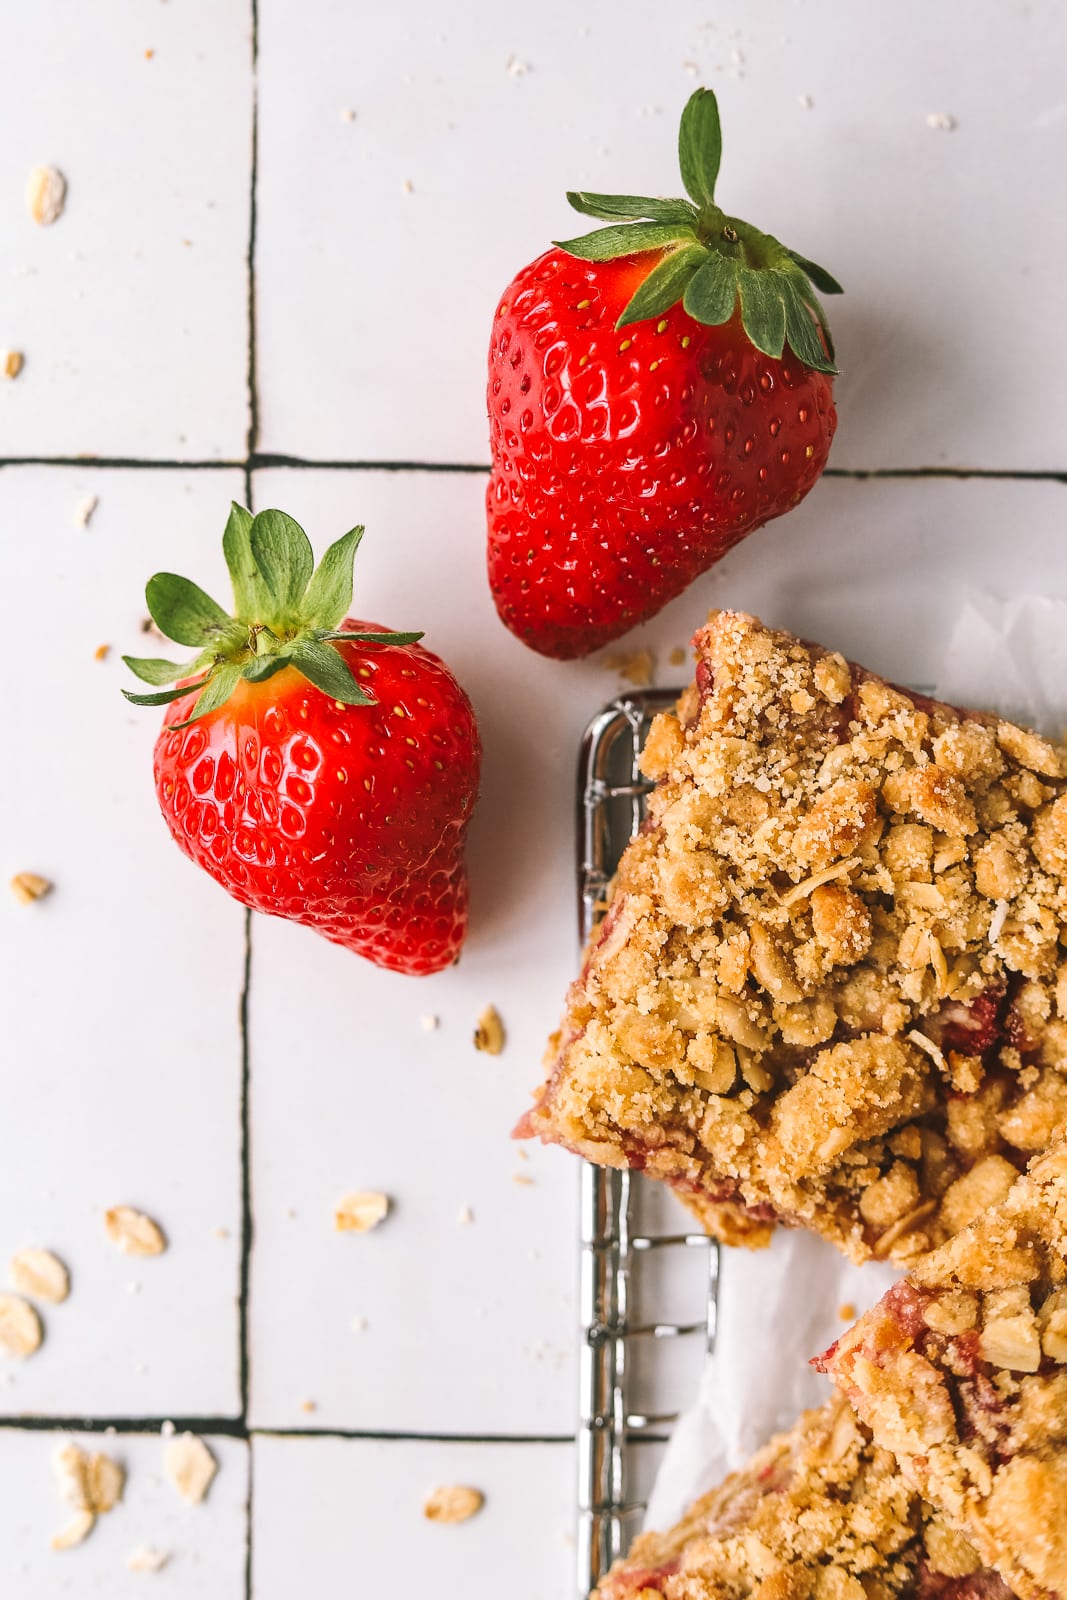
Strawberries: I recommend using fresh strawberries and not frozen fruit. This strawberry dessert will taste best when strawberries are in season! Make sure to dice the strawberries into smaller, not larger pieces for the filling layer.
Lemon zest: a sprinkle of lemon zest will help brighten the strawberry flavor, no lemon juice needed
Corn starch: this is crucial in the recipe and is going to thicken the strawberry filling as the strawberry oat bars bake
Oats: you’ll want to use old fashioned or rolled oats. This is going to give us that crumble crust used as a part of the bottom and top layer of these bars for a lovely, chewy bite.
Sugar: you’ll need brown and white sugar for the oat crumb topping and bottom crust of this recipe
Unsalted Butter: Butter holds it all together!
Flour: Works as a binder to keep the base and top layer together.
Baking Soda: For a little extra lift to the bottom and top oat crumb layers of these bars when baked we need a bit of baking soda.
Salt: A pinch of salt is needed since the recipe used unsalted butter.
How to make these strawberry fruit bars
Step 1: Preheat the oven to 350°Fahrenheit and line a 9×9-inch baking pan with parchment paper.
Step 2: In a small bowl, make the strawberry mixture by mixing together the diced strawberries with the white sugar, cornstarch and lemon zest. Set aside.
Step 3: In a medium bowl, add all of the dry ingredients, combine flour, oats, sugar, brown sugar, baking soda and salt and whisk everything together to combine. Then stir in the melted butter and mix until you have a crumbly crust mixture.
Step 4: Set aside 1 ¼ cups of the crumble mixture. Pour the rest of the oat crumb mixture into your prepared baking pan and press into an even layer with your hands (you could also use the bottom of a small glass to gently press the bottom crust layer into the pan).
Step 5: Pour the strawberry filling (including the juices) onto the crumble crust bottom layer and spread it so it evenly covers the base.
Step 6: Sprinkle the remaining oat crumble, 1 ¼ cup of the mixture on top, evenly coating the strawberry layer.
Step 7: Bake in the preheated oven for 35-40 minutes, the crust should be golden brown and the strawberries should have set.
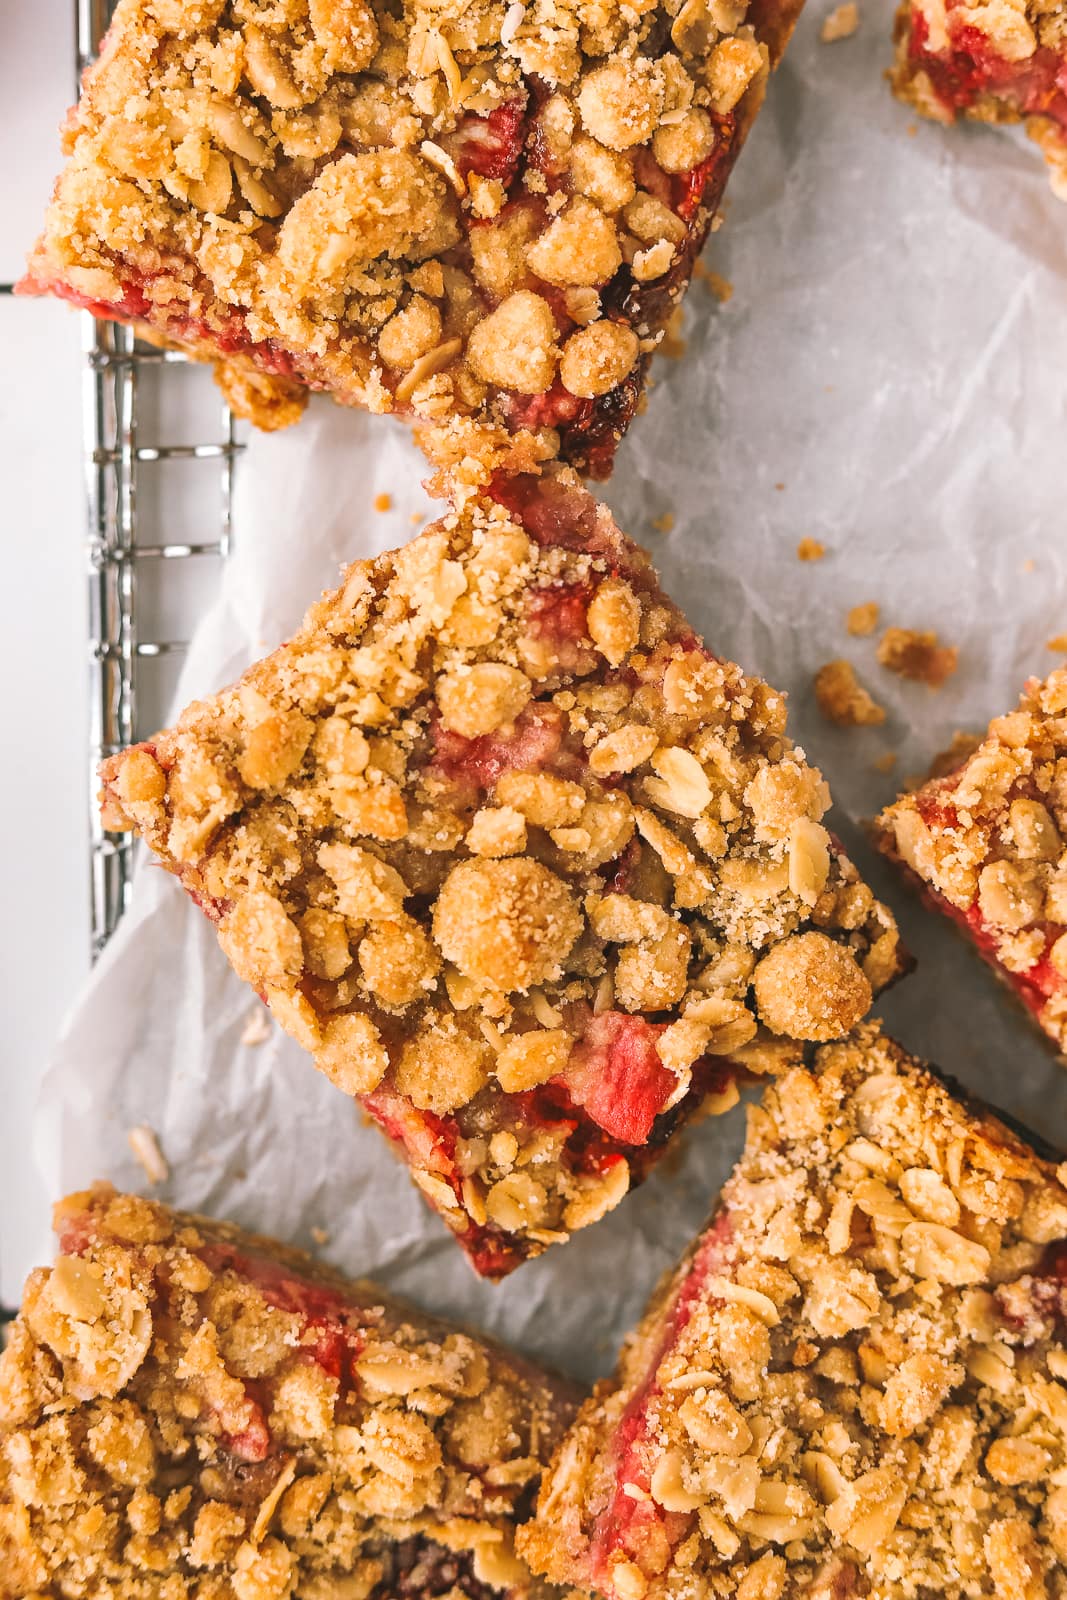
Step 8: Remove from the oven and let the bars cool completely in the pan, at least an hour. To set faster, place in the fridge. Cut into squares using a sharp knife and enjoy!
Tips & tricks for making this strawberry fruit bar recipe
Let the bars cool completely in the pan before cutting, generally at least an hour of cooling time. If you cut them while they’re still warm, they’ll fall apart! I like to make these the night before so they have the full night to set and then they’re ready to serve at a gathering the next day.
Make sure to press the first crumble crust layer down well with your hands so it covers the bottom of the pan. You could also use the bottom of a small glass to gently press the bottom crust layer into the pan instead of your hands.
If you aren’t lining the bottom of the pan with parchment paper, then make sure to grease the pan very well with butter. Please note, it’s must easier to remove the easy oatmeal bars from the pan if it’s lined with parchment paper – highly recommend using it for these bars!
I recommend using a sharp knife and cleaning it after cutting each slice to get super clean bar slices!
Top these bars with a delicious glaze, the lemon icing from my strawberry rhubarb hand pies!
Common Questions
Do I have to use fresh berries or can I use frozen strawberries?
Frozen strawberries release a lot of water when they cook, so they won’t work in this recipe! You’ll want to make sure to use fresh fruit (strawberries) only for this strawberry fruit bar recipe.
What can I serve these strawberry crumble bars with?
I love adding a scoop of vanilla ice cream on top of each bar, but you can also serve them with whipped cream or the whipped mascarpone cheese topping from my berries and cream recipe!
Can I make this recipe in an 8×8 baking pan?
You can use a 8×8 baking pan but as the bars will be thicker they’ll need longer in the oven. Start with 40 minutes and then check in 5 minute increments until done.
Can I make these with blueberries instead of strawberries?
I have not tested this recipe with blueberries, however, I think you could try a straight swap of fresh blueberries for the same amount of strawberries currently in the recipe.
How to store these fruit bars
These easy strawberry fruit bars will keep in the fridge in a container for up to 4 days.
More delicious fruit desserts to love from the blog
Preheat the oven to 350F and line a square 9×9 inch baking pan with parchment paper or grease the pan well with butter.
For the strawberry filling
In a small mixing bowl stir together the diced strawberries, sugar, cornstarch and lemon zest until strawberries are well-coated. Set aside.
For the crumble crust
In a medium mixing bowl whisk together flour, oats, sugar, brown sugar, baking soda and salt. Stir in melted butter and mix until fully combined, creating a crumbly mixture.
Save 1 1/4 cups of the crumble crust mixture and set aside. Pour the rest of the mixture into the baking pan and press into an even, flat base layer with your hands.
Pour the strawberries mixture including all the juices onto the crumble crust base layer in the pan. Spread the strawberry mixture into an even layer.
Finally, sprinkle the 1 1/4 cups crumble crust mixture you saved over the strawberries layer, evenly coating them.
Bake for 35-40 minutes until crumble crust topping is golden brown and strawberries are set (they may be bubbling).
Remove from oven and let completely cool in the pan or they will fall apart if not completely cooled before cutting. You can also place them in the fridge to help cool faster.


")


")