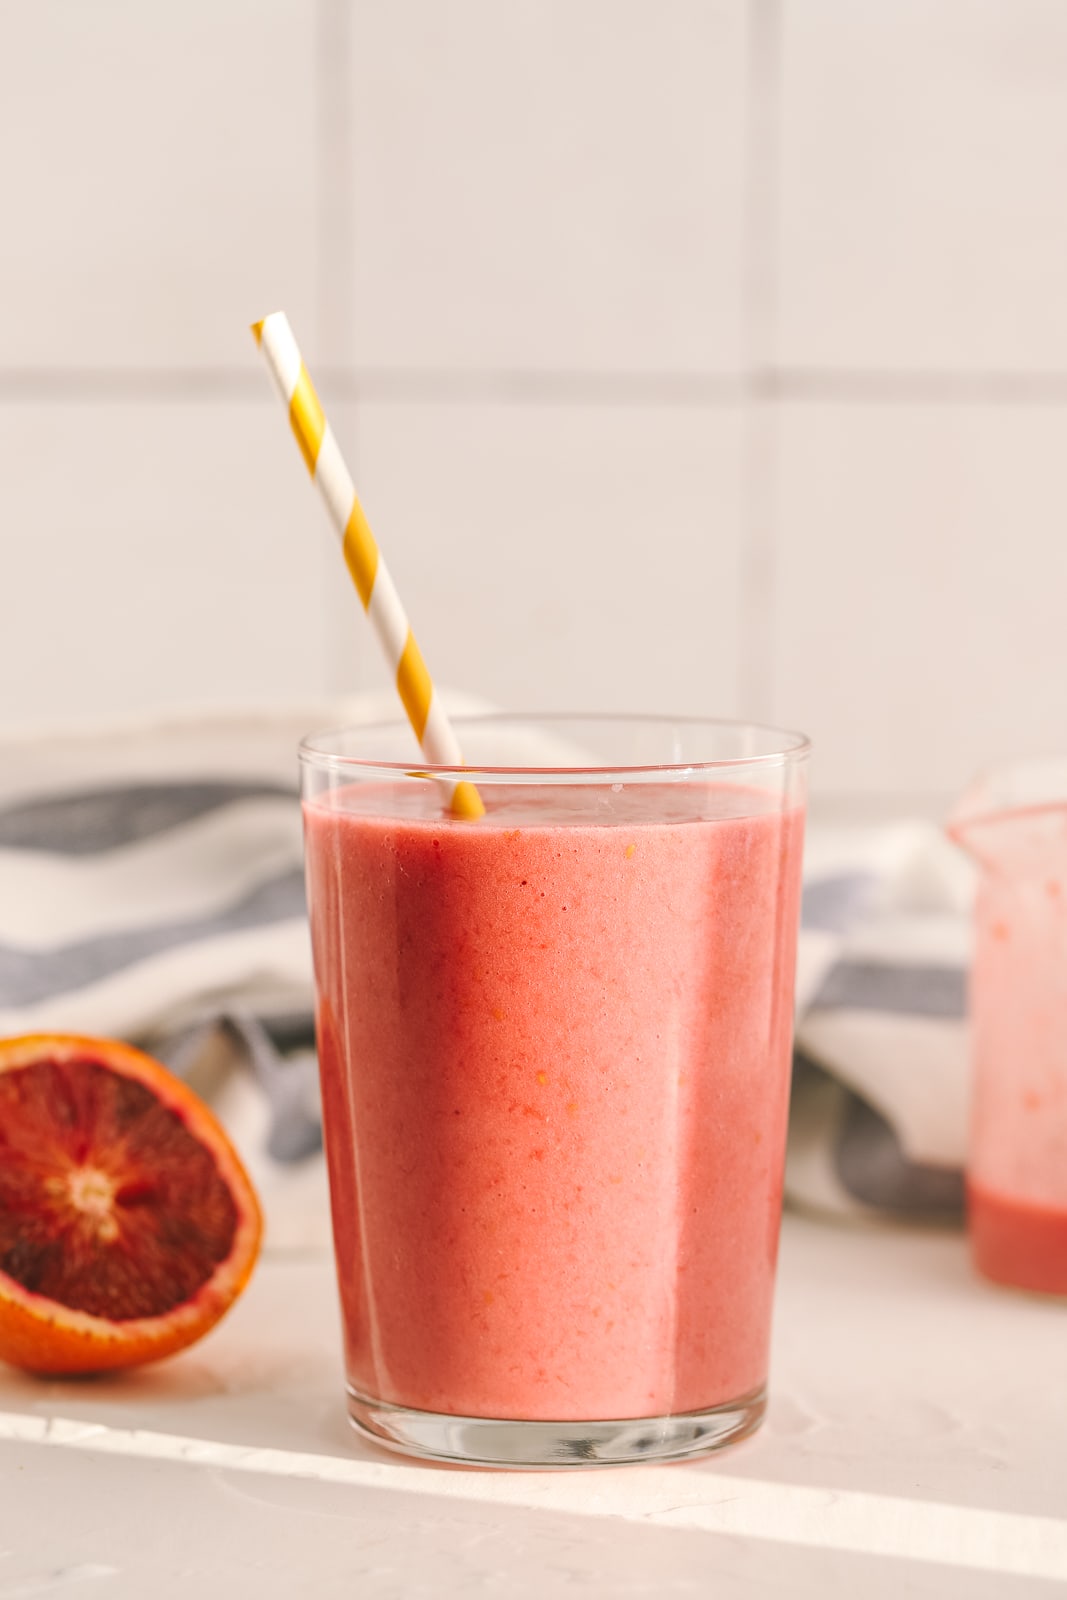
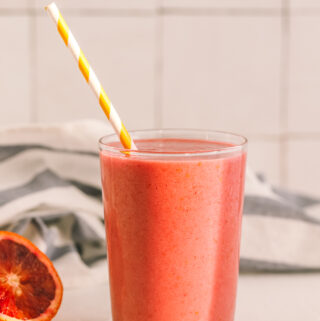
Tropical Blood Orange Smoothie
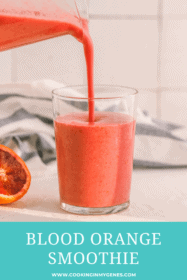
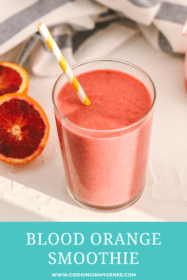
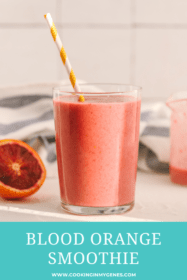
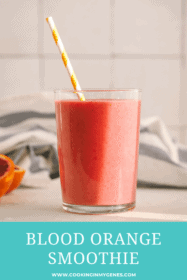
This tropical blood orange smoothie is going to give you that bit of sunshine you need this winter!
This is the perfect winter smoothie to get rid of the post holiday blues, plus it only takes 5 minutes to make.
A creamy, refreshing and nourishing citrus smoothie is exactly what I need right now.
This tropical smoothie is made with 3 different fruits and packed with so much flavor and nutrients.
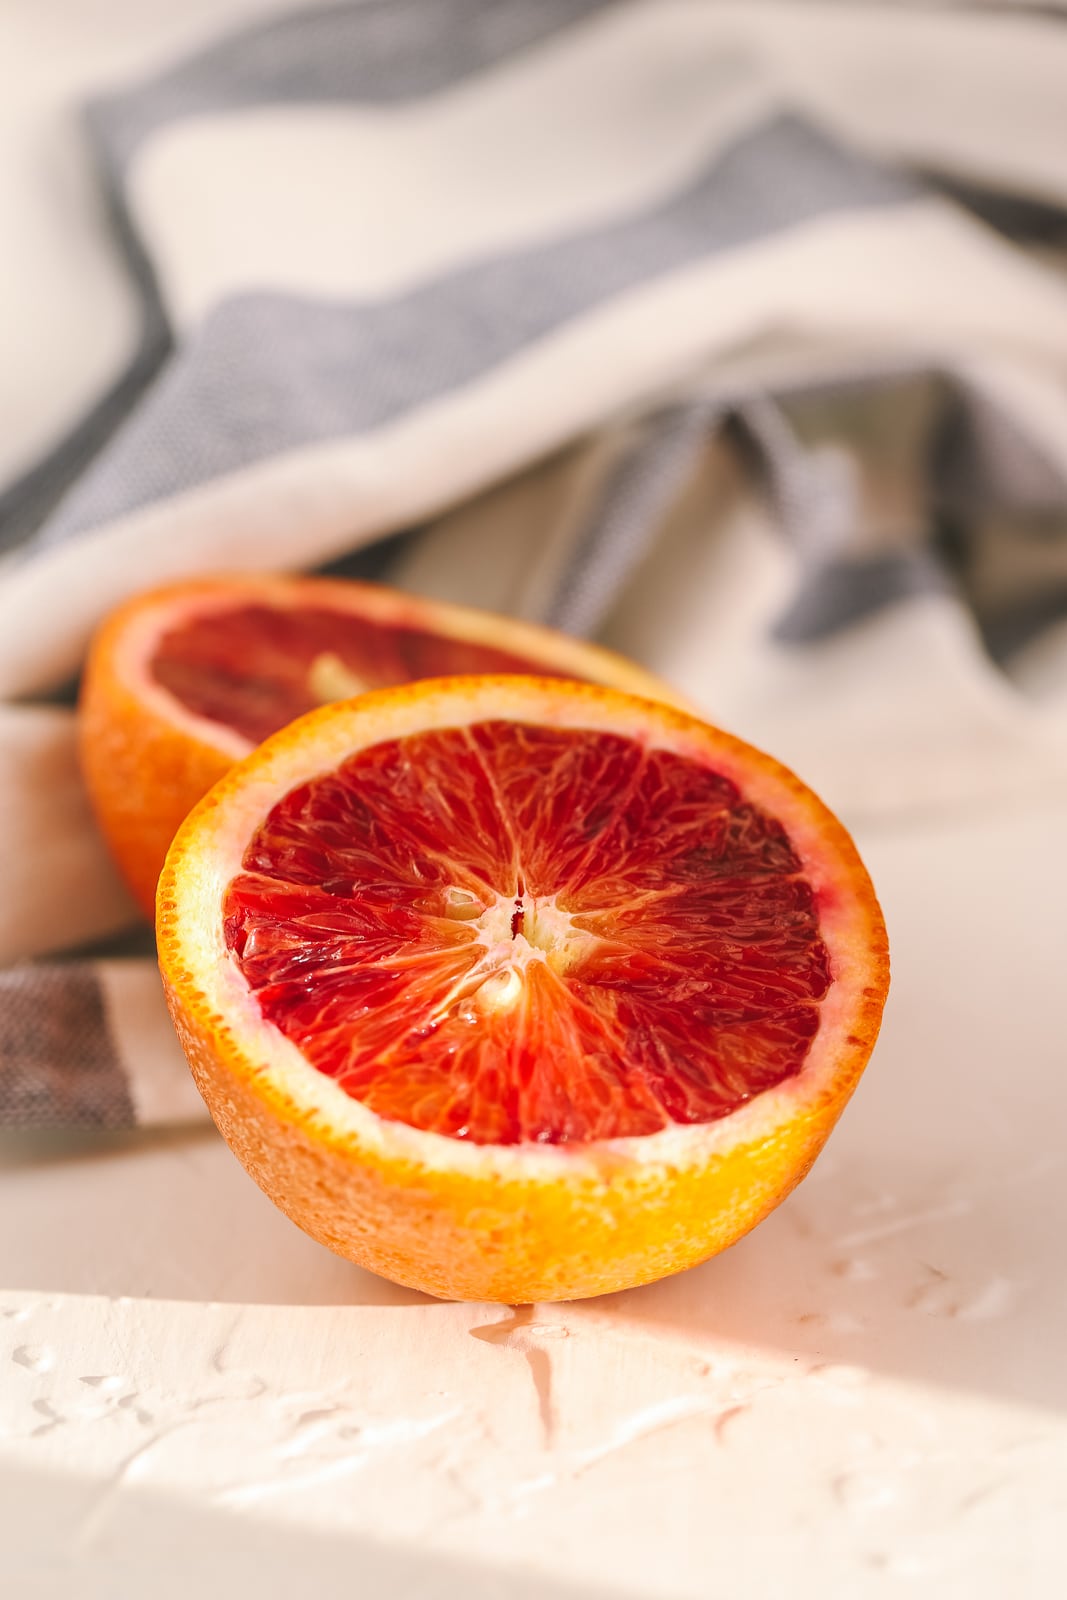
Did you know that blood oranges are packed with vitamin C and antioxidants? If you’re looking for even more of a nutrient boost, you can add hemp seeds, chia seeds or flaxseeds to your smoothie.
If you can’t get enough of that tropical flavor, check out my green tropical smoothie!

Why you’ll love this tropical blood orange smoothie
- It only takes 5 minutes to make this easy smoothie, so it is perfect for weekday breakfasts.
- You only need 5 ingredients to make this blood orange smoothie!
- You get all the tropical flavors thanks to the addition of coconut milk.
- If you’re looking to spice up your brunch spread, serve this smoothie with a splash of prosecco, ginger soda or sparkling water!
- This creamy smoothie is packed with good for you ingredients, but I have ideas on how you can add even more nutrients.
Ingredients Needed to make this blood orange smoothie
- Blood Oranges: blood orange season is short, so be sure to stock up on blood oranges while you can! You can peel and freeze them so you can enjoy blood orange smoothies all year round.
- Frozen Fruit: adding frozen raspberries and mango brings the tropical flavours to this smoothie!
- Coconut Milk: you can use coconut milk that comes from a can or a carton. If you don’t have coconut milk on hand or don’t like coconut milk, feel free to use any other milk.
- Protein Powder: this is totally optional but I love adding a scoop of protein powder to my smoothies to keep me feeling full until lunch.
- Maple Syrup or Honey: I’m adding just a little bit of sweetener to this smoothie, be sure to use maple syrup if you’re vegan.
Step by Step Process to make this smoothie
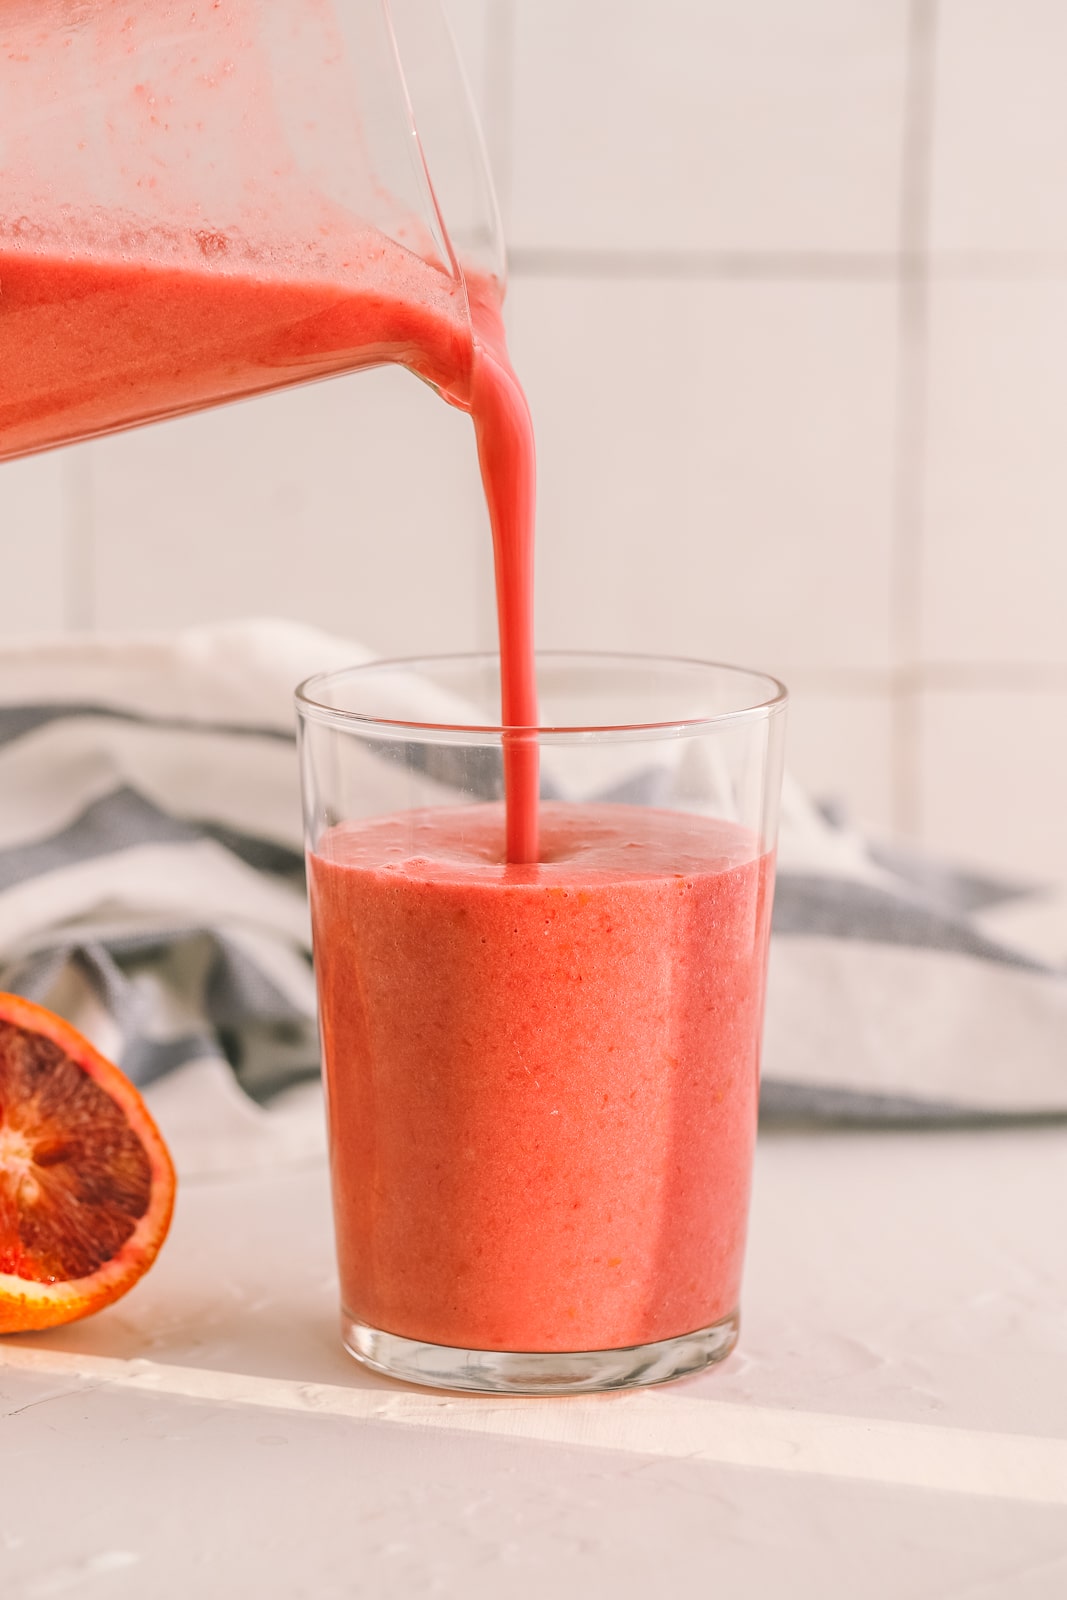
Step 1: Add all of the ingredients to your blender.
Step 2: Blend until smooth and enjoy!
Tropical Blood Orange Smoothie
Ingredients
- 1 blood orange, peeled
- 1 cup coconut milk (from a can or carton)
- 1/2 cup frozen raspberries
- 1/2 cup frozen mango
- 1 tsp maple syrup or honey
- 2 ice cubes
- 1 scoop protein powder of choice (optional)
Instructions
- Pour all of your ingredients into your blender.
- Blend until all of the ingredients come together in a beautiful bright-hued smoothie!
FAQ
How can I add extra nutrients?
Add up to a tablespoon of chia seeds, ground flaxseeds or hemp seeds to the smoothie before blending to get an extra burst of fiber and omega-3s!
What if I don’t like or have coconut milk?
Feel free to use any other milk if you don’t like or have coconut milk on hand.
Why is my smoothie too thick (or too thin)?
Using frozen fruits can make the consistency of the smoothie very thick. If after blending it is too thick for you, add an extra splash of coconut milk and blend again until it is your preferred consistency. Alternatively, if you find the smoothie is too thin, add in a bit more frozen fruit to reach your desired consistency.
Do I have to add protein powder?
This is optional but adding protein powder is going to help keep you fuller for longer! My favorite protein powder is from Botanica Health!

Expert Tips
- If using frozen blood oranges or if your smoothie is too thick, add a splash more coconut milk to get the right consistency.
- Because the blood orange season is so short, I recommend stocking up on them while you can. Peel and store the blood oranges in the freezer until ready to use!
- If you want to serve this smoothie for brunch, you can make a blood orange mimosa! Just add in prosecco or for a non-alcoholic version, add non-alcoholic sparkling wine, sparkling water, or ginger soda. If you’re looking for a blood orange cocktail, check out my citrus vodka crush!
Storage
This blood orange smoothie is best enjoyed right after making!
More smoothie recipes to love from the blog
Until the next cooking adventure,
Jess

")
")


I’ve never put blood oranges in smoothies but I love them so I can’t figure out why. Yum!!
I hear you Charlotte! I hadn’t either but realized how lovely the flavour would be so tried it out! Hope you enjoy the recipe & thanks for stopping by 🙂
This smoothie sounds delicious, and the colour is fantastic! Beautiful photos.
Thanks for the recipe & photo love Colleen! I think half the reason I love it so much too is the colour – so bright and fresh for the winter season.
Blood orange is such a treat for citrus lovers like me! This smoothie looks incredible. Nutritious and delicious!
I agree Sharon, blood oranges are SUCH a treat! I sort of go a little nuts when their season comes around haha. I’m so glad you like the sound of this smoothie; if you try the recipe out please let me know your thoughts. Happy citrus season!
I just bought blood oranges from the grocery store last weekend! Can’t wait to use them. I just looove the bold colour of this smoothie, definitely will be trying it 🙂
Woohoo! I love hearing that Maresa and I’d love to know what you think of the smoothie once you try it 🙂 Thanks for stopping by the blog 🙂