Easy & Delicious Stone Fruit Breakfast Crumble Recipe
Using my favourite fruits of the season I’ve come up with my new favourite way to start the day, this Stone Fruit Breakfast Crumble!
Making fruit crumbles and fruit crisps are always on my dessert menu in the Summer.
So, with a combination peaches and plums plus a simple low-sugar oat topping, you can eat this crumble for BREAKFAST!
Yes that’s right, this fruit crumble is for breakfast or brunch! All of the stone fruits are in season right now, including plums and peaches.
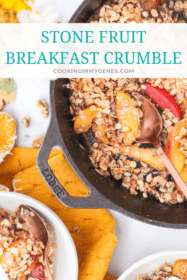
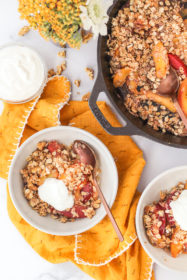
The stone fruit really stands out because it’s first sautéed and then baked, letting the natural, sweet juices come out. Topped with a delicious mixture of oats, walnuts, cinnamon and coconut, you will be going back for a second bowl! If you love sweet breakfasts like this High Protein Peach Baked Oatmeal, you’re sure to love this one.
Why you’ll love this breakfast crumble
- It’s made with simple ingredients!
- A fun twist on breakfast, you can meal prep this crumble for the week ahead.
- It’s wonderful to serve for brunch as well!
- You can serve this as a healthier dessert with a scoop of ice cream.
- Oats are a great source of fibre and delicious to start the day.

Ingredients to make this delicious stone fruit breakfast crumble recipe
Butter: a little bit of butter goes a long way to bring this crumble together, however, you can substitute with coconut oil if desired
Peaches: Use fresh, ripe peaches to make this breakfast crumble
Plums: I like to use red plums in this recipe, they’ve got the best flavour
Oats: oats are key for the topping; I like to use rolled oats but in a pinch you can use quick oats
Walnuts: I love the combination of oats, walnuts and stone fruits together
Seasonings: ground cinnamon, maple syrup and salt are used to sweeten and balance out the flavours.

How to make this breakfast crumble for breakfast this week
Step 1: Pre-heat the oven to 350F.
Step 2: Mix all of the oat crumble mixture ingredients together and set aside.
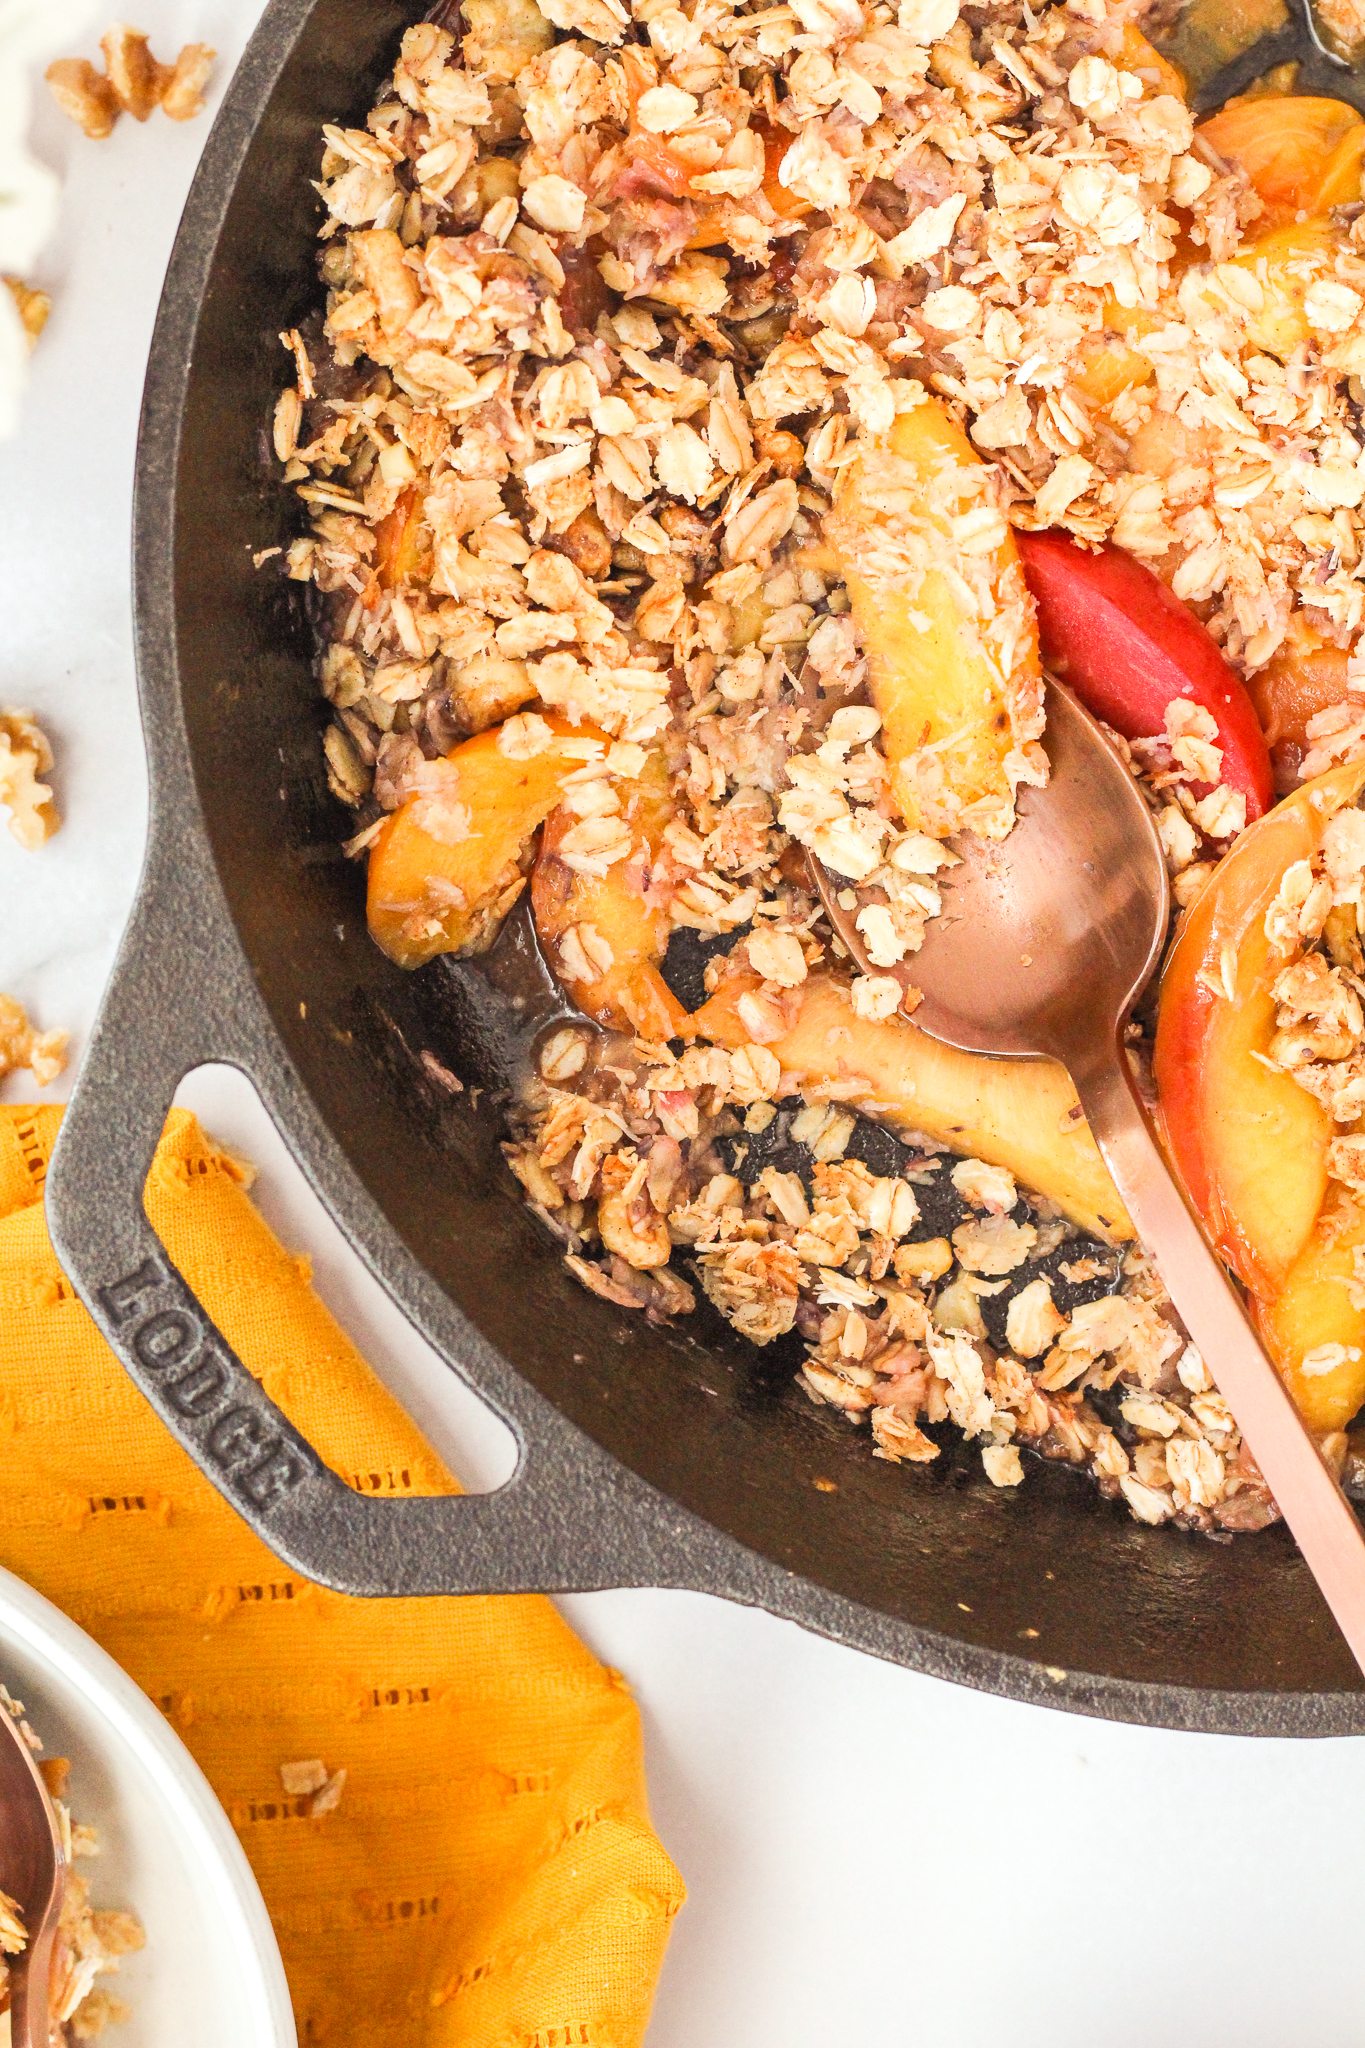
Step 3: In an oven-safe skillet melt 1 tbsp of unsalted butter or coconut oil over medium heat.
Step 4: Once melted, add the sliced fruit and cook for 5-7 minutes until fruit has softened slightly.
Step 5: Remove the pan from the heat and stir in 1 tbsp maple syrup. *See note below if not using an oven-safe skillet*
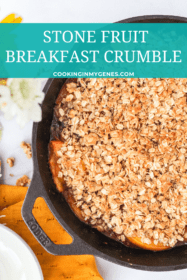
Step 6: Pour the oat mixture onto the fruit base and spread almost to the edge of the pan. Put the pan in the oven and bake for 15-20 minutes, until the topping is just starting to turn golden brown and the fruit mixture is bubbling.

Expert tips
- If you don’t have an oven-safe skillet, cook the fruit in a frying pan and then transfer to a baking dish before following the rest of the recipe.
- Depending on the season, fresh berries would be a great substitute for stone fruit to switch up the flavours. It will taste just like a fruit crisp! If you’re a fan of berries, try substituting the peaches and plums with a total of 3 cups fresh berries to make a breakfast berry crumble.
- If you don’t have shredded coconut on hand, substitute with more oats instead.
- Pump up the nutrition in this crumble to make this a healthy breakfast by adding 1-2 tablespoons of flaxseed to the oat topping.
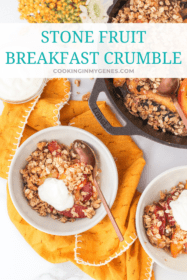
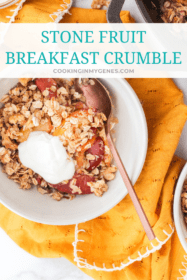
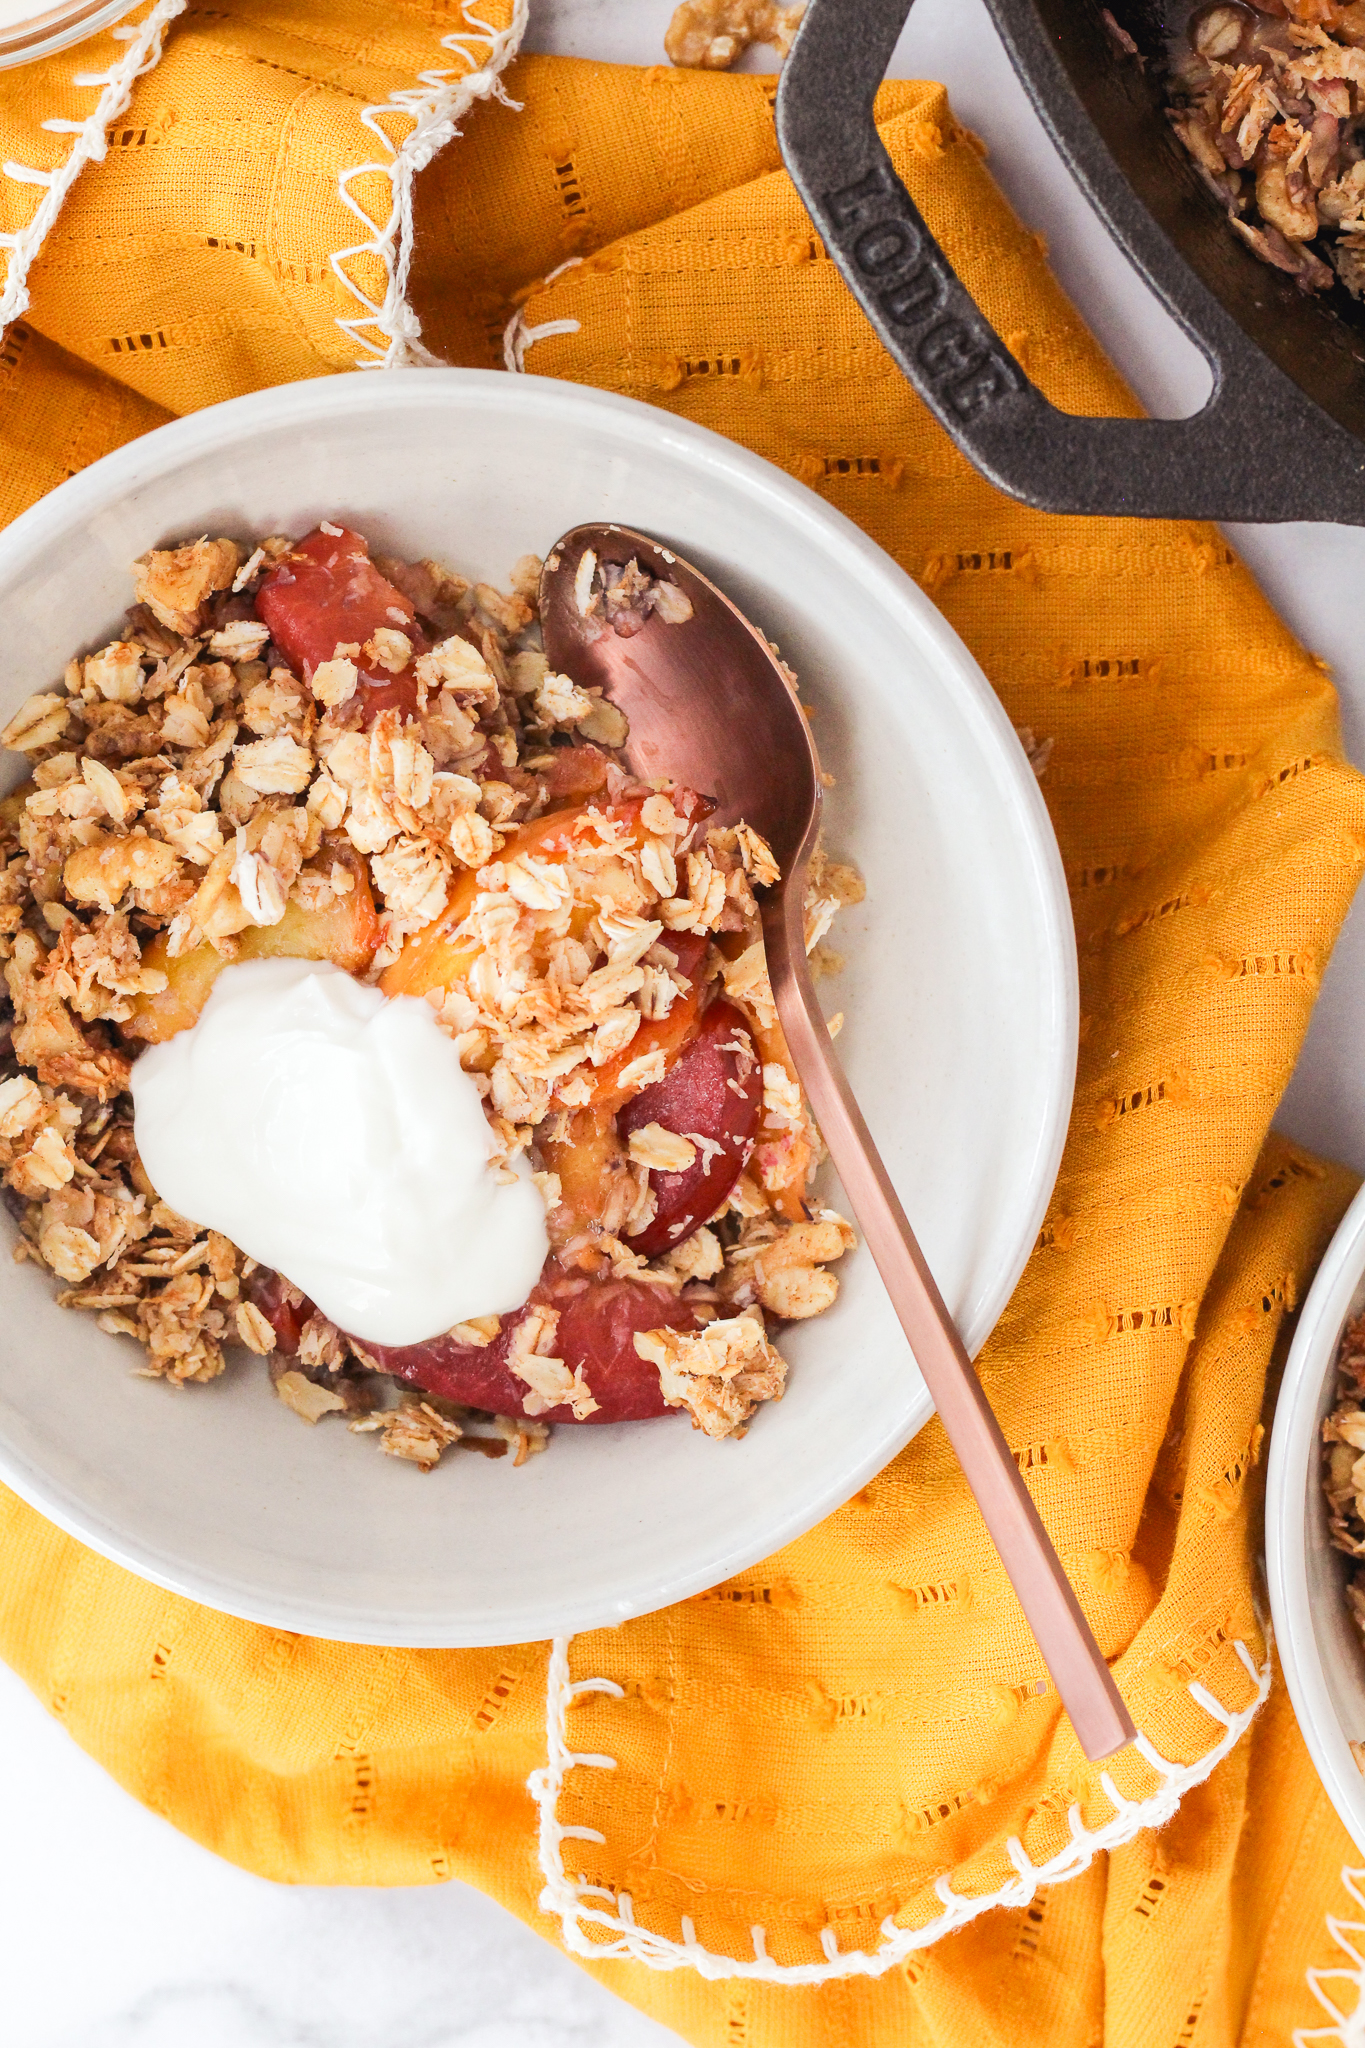
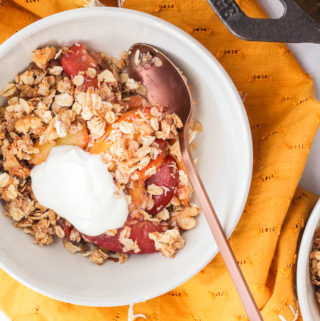
- Make this a high protein breakfast crumble by topping the finished baked crumble with Greek yogurt and a spoonful of almond butter.

Common questions
Can I make this gluten-free?
Make this a gluten-free breakfast crumble by using certified gluten free oats in the crumble topping
How can I make this breakfast crumble nut-free?
Substitute the chopped walnuts for an equal amount of oats. Alternatively, you could use flaxseed for a nuttier flavour.
Can I make this crumble with frozen fruit?
I’ve only tested this recipe with fresh fruit. If you try using frozen fruit, just know that the fruit mixture could be a bit more watery. I recommend sauteeing the frozen fruit for about 10-15 minutes before topping with the oat mixture and placing in the oven.

How to store this breakfast crumble
Store leftovers in an airtight container for up to 3 days in the fridge. Reheat leftovers in the microwave or eat at room temperature.
More breakfast recipes to love from the blog
High Protein Carrot Cake Baked Oatmeal Breakfast
Easy & Healthy Blueberry Oatmeal Pancakes Recipe
Zucchini Oatmeal Breakfast Cookies
Easy & Delicious Stone Fruit Breakfast Crumble Recipe
Ingredients
- 1 tbsp unsalted butter or coconut oil
- 2 large peaches, sliced
- 2 red plums, sliced
- 1 tbsp maple syrup
Oat Topping:
- 1 1/4 cup rolled oats
- 1/3 cup chopped walnuts
- 1/2 tsp cinnamon
- 1/4 cup unsweeteed shredded coconut
- 1 tbsp melted unsalted butter or coconut oil
- 1 tbsp maple syrup
- 1/4 tsp sea salt
Instructions
- Pre-heat the oven to 350F.
- Mix all of the oat topping ingredients together and set aside.
- In an oven-safe skillet melt 1 tbsp of unsalted butter or coconut oil over medium heat.
- Once melted, add the sliced fruit and cook for 5-7 minutes until fruit has softened slightly.
- Remove the pan from the heat and stir in 1 tbsp maple syrup. *See note below if not using an oven-safe skilled*
- Pour the oat topping onto the fruit and spread almost to the edge of the pan. Put the pan in the oven and bake for 15-20 minutes, until the topping is just starting to brown and fruit mixture is bubbling.


")
Crumble for breakfast?! I’m going to be sure NOT to tell my kids about this one. Otherwise, they will want it every morning! How could you not, it looks delicious.
Haha, I love it Matt! Maybe make it a ‘special weekend breakfast’ 🙂
I am a creature of habit when it comes to breakfast, but I would gladly switch it up for this! It looks so delicious!
Ohhh Kim, I love hearing that! It’s one of my fav breakfasts now too; I hope you enjoy it if you try it!
Ooooooh I love this healthy take on crisp for breakfast and I’ve never thought to dollop yogurt on top. Yum! Thanks for sharing a beautiful recipe!
Thank you for the recipe love Kelly! And you’re so right; it’s so versatile whether for breakfast or a healthier dessert. I hope you enjoy the recipe 🙂
Love this breakfast idea, thank-you for sharing.
We love stone fruit, so this is the perfect recipe for our busy mornings.
Thanks Kristen, I love to hear that! It’s so great to make ahead of time too then warm up for those busy mornings!