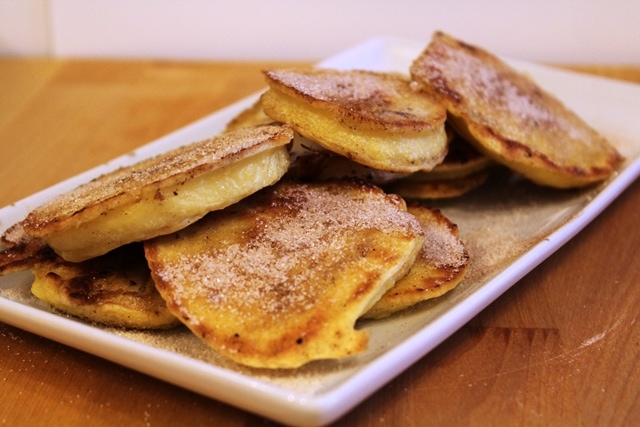
Apple Pancakes
Pancakes for dinner? Why yes please!
It’s a bit funny as a lot of my pancake memories link back to eating them for dinner instead of breakfast.
Growing up my Oma would make these delicious apple pancakes for dinner, yes, for dinner. As a kid this was one of my absolute favourite meals (for obvious reasons) – does it get better than pancakes topped with cinnamon and sugar?!
The actual German name for this dish which I can remember from growing up is “Apfelkrapfen” (‘up-full-grep-fen’) – this word actually translates directly to mean ‘apple fritter.’ However, in my Oma’s recipe we always cooked them in a frying pan on the stove-top.
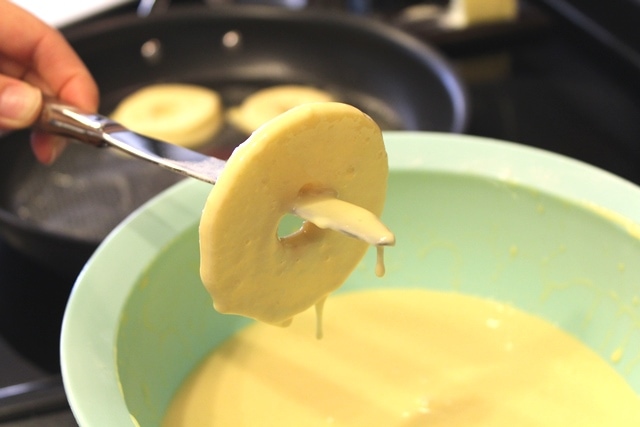
The recipe is a simple crepe-style dough in which you dip whole apple slices, then cook them.
Such simple ingredients with such a delicious outcome – you can make these for breakfast, lunch/brunch or (my personal favourite) dinner. Heck you could probably even serve them for dessert!
I have not eaten or made these in at least 10 years so when I made them the taste and smell immediately transported me back to being a kid – I could picture myself and my brother in my Oma’s kitchen eating them up.
Prep time: 30 minutes
Equipment: Small & Large Mixing Bowls, Frying Pan (Optional: Apple Corer)
Servings: 4-6
Ingredients:
Crepe Dough:
4 eggs
1 ½ cups whole milk (3.25%)
2 cups all-purpose flour, sifted
1 tsp sugar
pinch (1/8 tsp) salt
Extra: ½ cup whole milk (3.25%) in case you need to thin out your batter
Extra: butter for the frying pan when cooking
Apples:
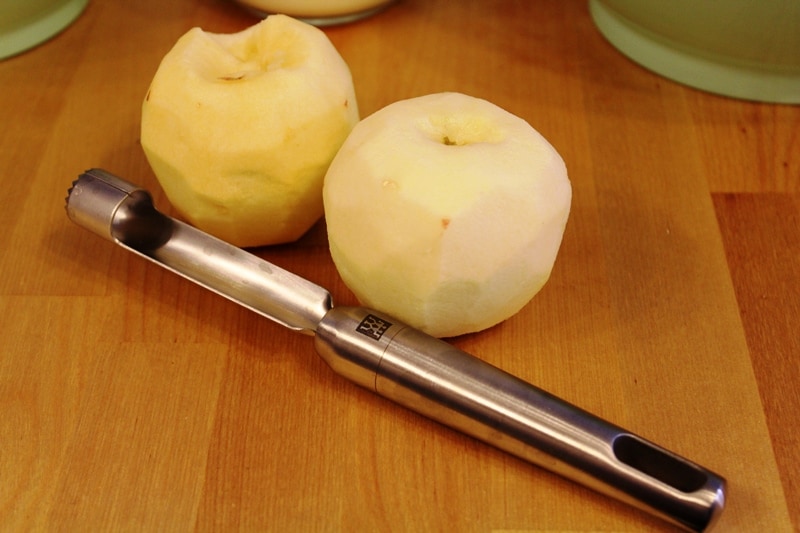
6 large apples peeled & cored (Gala apples are my preferred apple but Granny Smith would work too)
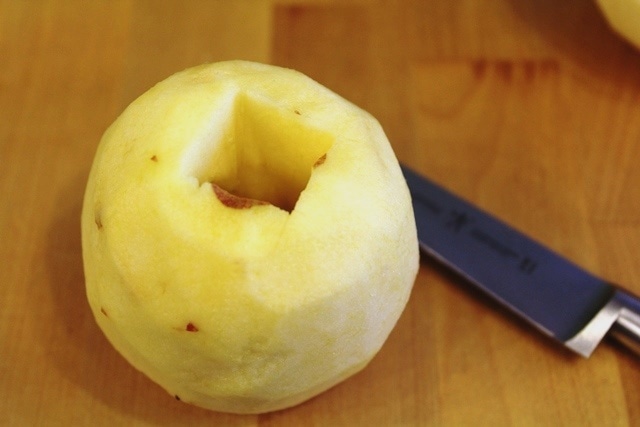
**Helpful tip: If you don’t have an apple corer, you can simply use a small knife. Use the knife to cut around the core from both ends and then press from one end to pop the core out. Once you cut the apple slices you might have to trim a bit if there is any core left.
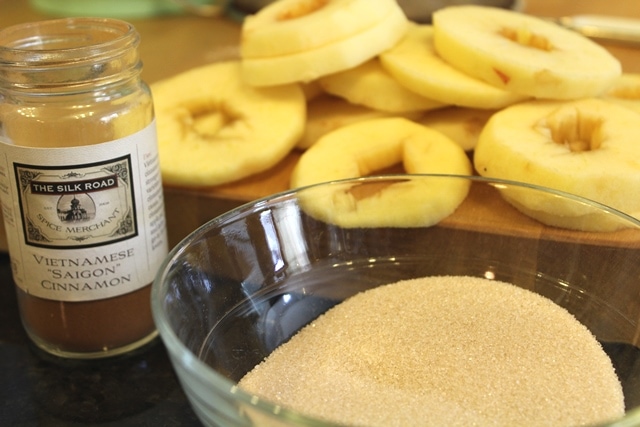
Cinnamon-Sugar Mix:
½ cup sugar
1 tsp cinnamon
**Helpful tip: You can double, triple this sugary mix if you need to OR add more cinnamon or sugar to adjust the taste to your liking.
Instructions:
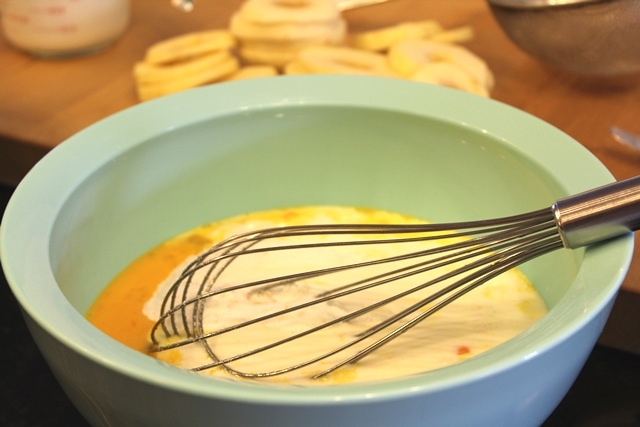
Mix the wet ingredients together (eggs and 1 ½ cups of milk) and set aside.
Sift the flour into a large mixing bowl, then whisk in the sugar and salt.
Add the wet ingredients into the dry ingredients, whisking until you get a smooth batter. If for some reason your batter is not as smooth as you like it and/or a bit thick, this is where the extra ½ cup of milk comes in. Gradually add a few drops of milk and whisk again – repeat this until your batter smooths out then set aside.
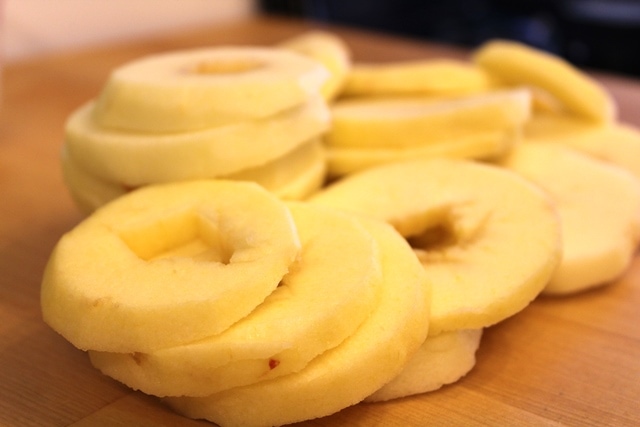
Next up are the apples. Peel and core the apples.
**Helpful tip: If you don’t have an apple corer, you can simply use a small knife. Use the knife to cut around the core from both ends and then press from one end to pop the core out. Once you cut the apple slices you might have to trim a bit if there is any core left.
Then, cut into approximately 1/2-inch slices – for me each apple gave me about 6 slices.
Then, mix the cinnamon and sugar together and set aside.
Now, time to cook! At this time give your batter another good stir.
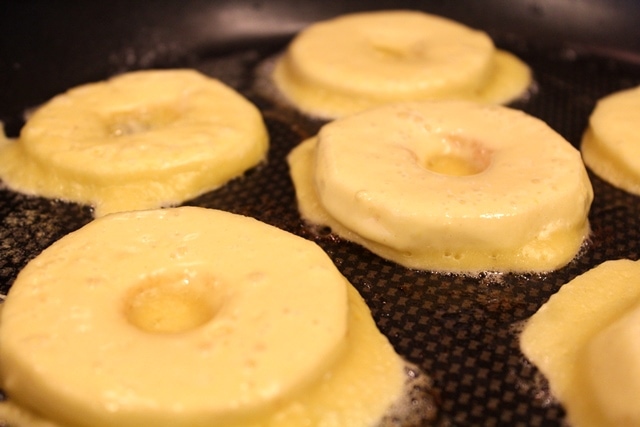
Turn your frying pan to medium and add butter to melt and cover the bottom of the pan (approximately 1 tbsp). As soon as the pan heats up and butter is melted (and before butter turns brown), using a fork or knife (chefs choice) grab an apple slice, dip into the batter letting excess drip off and then place in the pan.
I fit about 6 slices per batch in my frying pan.
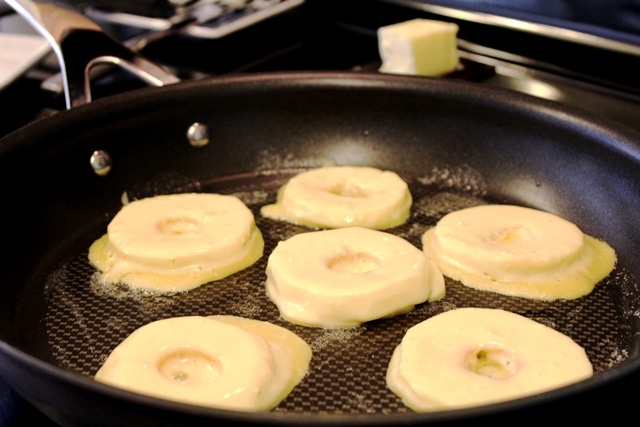
Cook for 5 ½ minutes (batter will start to bubble on top and edges will start to brown).
Flip and cook another 4 ½-5 minutes until both sides are golden.
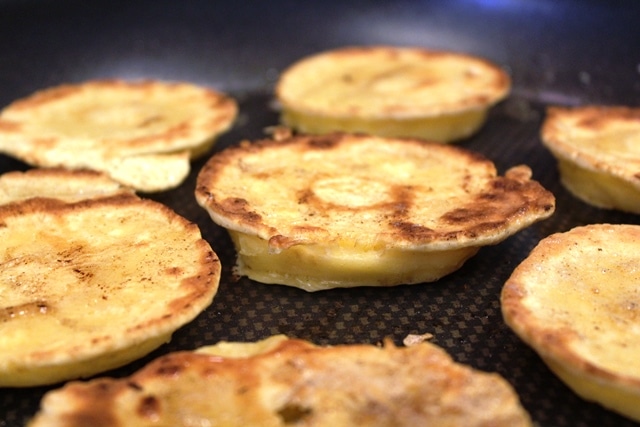
Take the batch out of the pan and serve immediately. Then, start the process over again with butter in the pan and dip and drop the apples into the pan for the next batch.
Cook’s Note: After a few batches I found I needed to give my pan a good clean with a paper towel as some of the leftover butter started to brown quite a bit. Then you can start with a few more batches.
If you want to keep them warm in order to serve more than one batch at a time, turn your oven to 200F and you can keep the pancakes warm on a baking sheet until ready to eat.
Cook’s Note: If you find one side of the pancake is getting darker than the other, just turn your dial down a bit to just under medium – you might have to adjust as you go depending on how hot your stove-top gets.
Lastly, serve up the pancakes and cinnamon-sugar mix for each person to customize their plate.

Until the next cooking adventure,
Jess
")


I treated myself to your Apple pancakes this morning! Delicious. I also had memories coming back, Strangely enough we also had them for dinner! ????
Thanks for the recipe
I love to hear this Rachel! We also used to eat these apple pancakes for dinner when I was a kid – they’re really great for any meal! So happy to hear you enjoyed the recipe 🙂